
Last updated: August 2026 · Written by Sabinus Msimba, Senior Kilimanjaro Guide, Kilimania Adventure
Data sources cited in this article: Kilimania Adventure guiding records (2019–2025), peer-reviewed research on trekking-pole biomechanics, and KINAPA trail elevation data (see Data Sources section below).
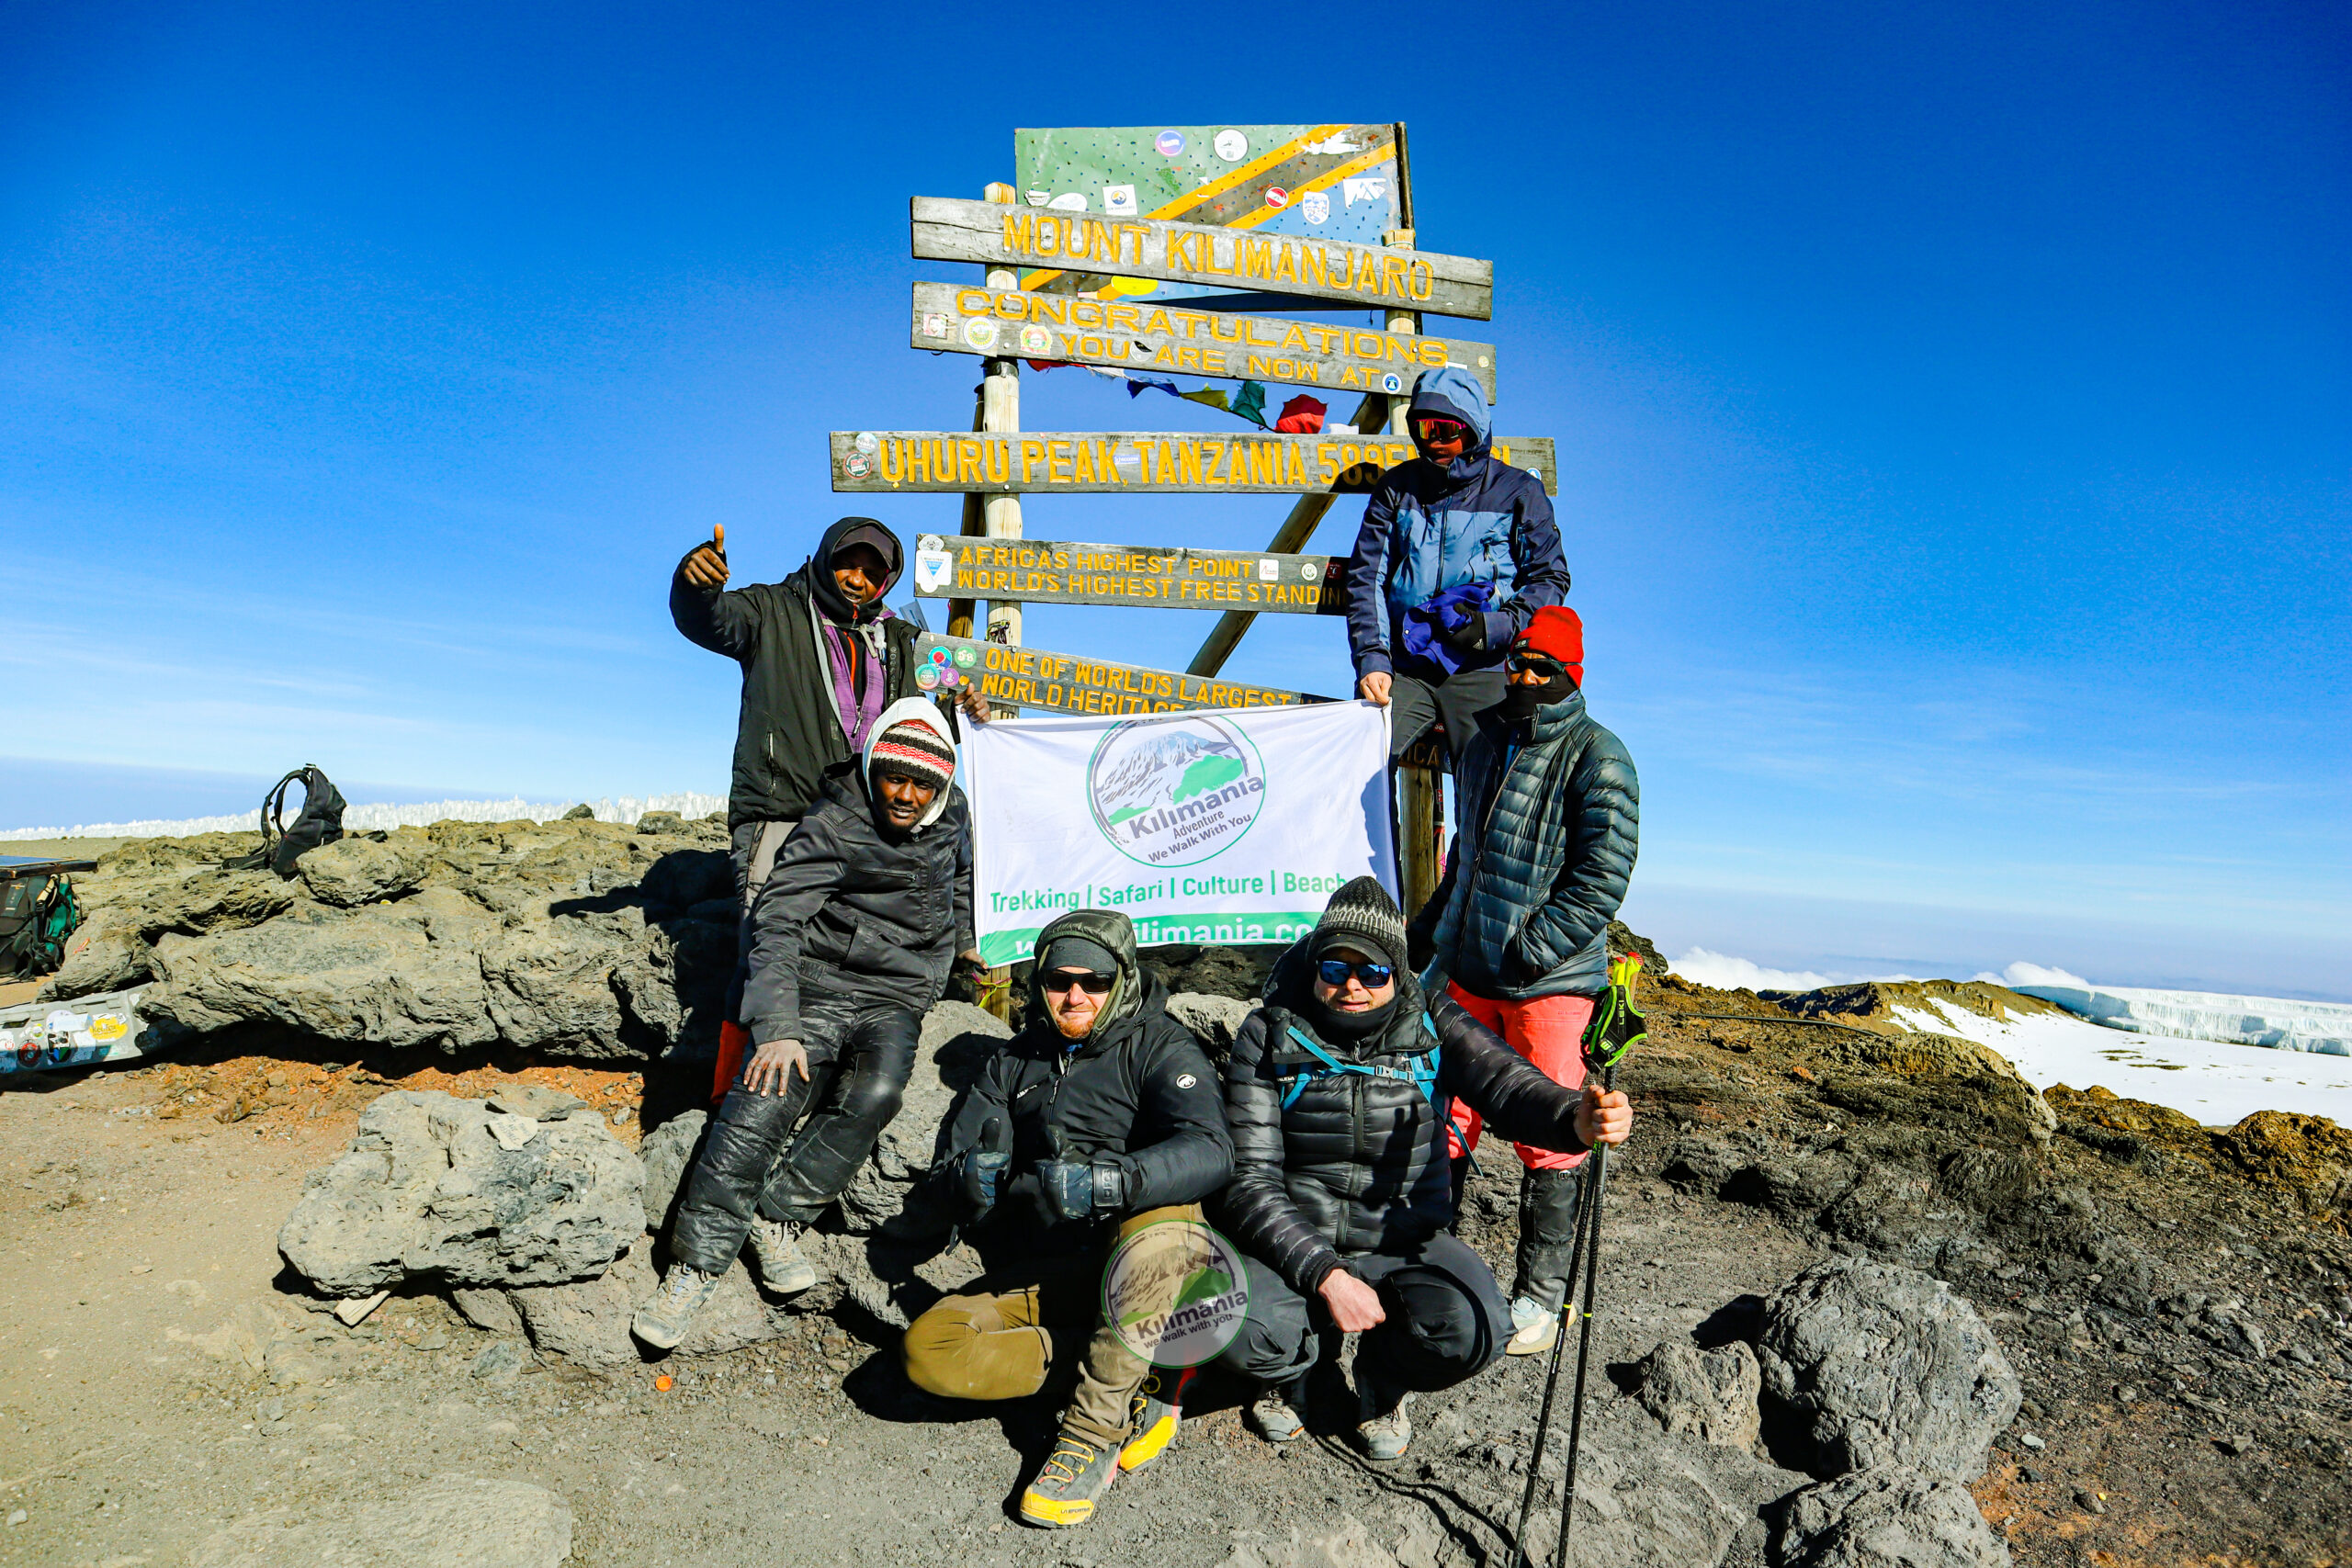
Many climbers with existing knee conditions successfully summit Kilimanjaro. The ascent is rarely the problem — the descent from Uhuru Peak to Mweka Camp covers 2,700 metres of elevation loss in a single day, on loose volcanic scree, and that is where knee conditions are genuinely tested. The right preparation — quadriceps strength, trekking poles, a knee brace, and orthopedic clearance — makes a significant difference to both summit chances and safety.
Why the Descent Is the Real Test
A lot of climbers focus their anxiety on the ascent — the altitude, the cold, the summit push at 1am. From a knee perspective, that anxiety is misplaced. The ascent to Uhuru Peak is spread across five to seven days at a deliberately slow pace. Daily elevation gains average 600–900 metres. The terrain, while steep in places, is manageable when you are moving slowly.
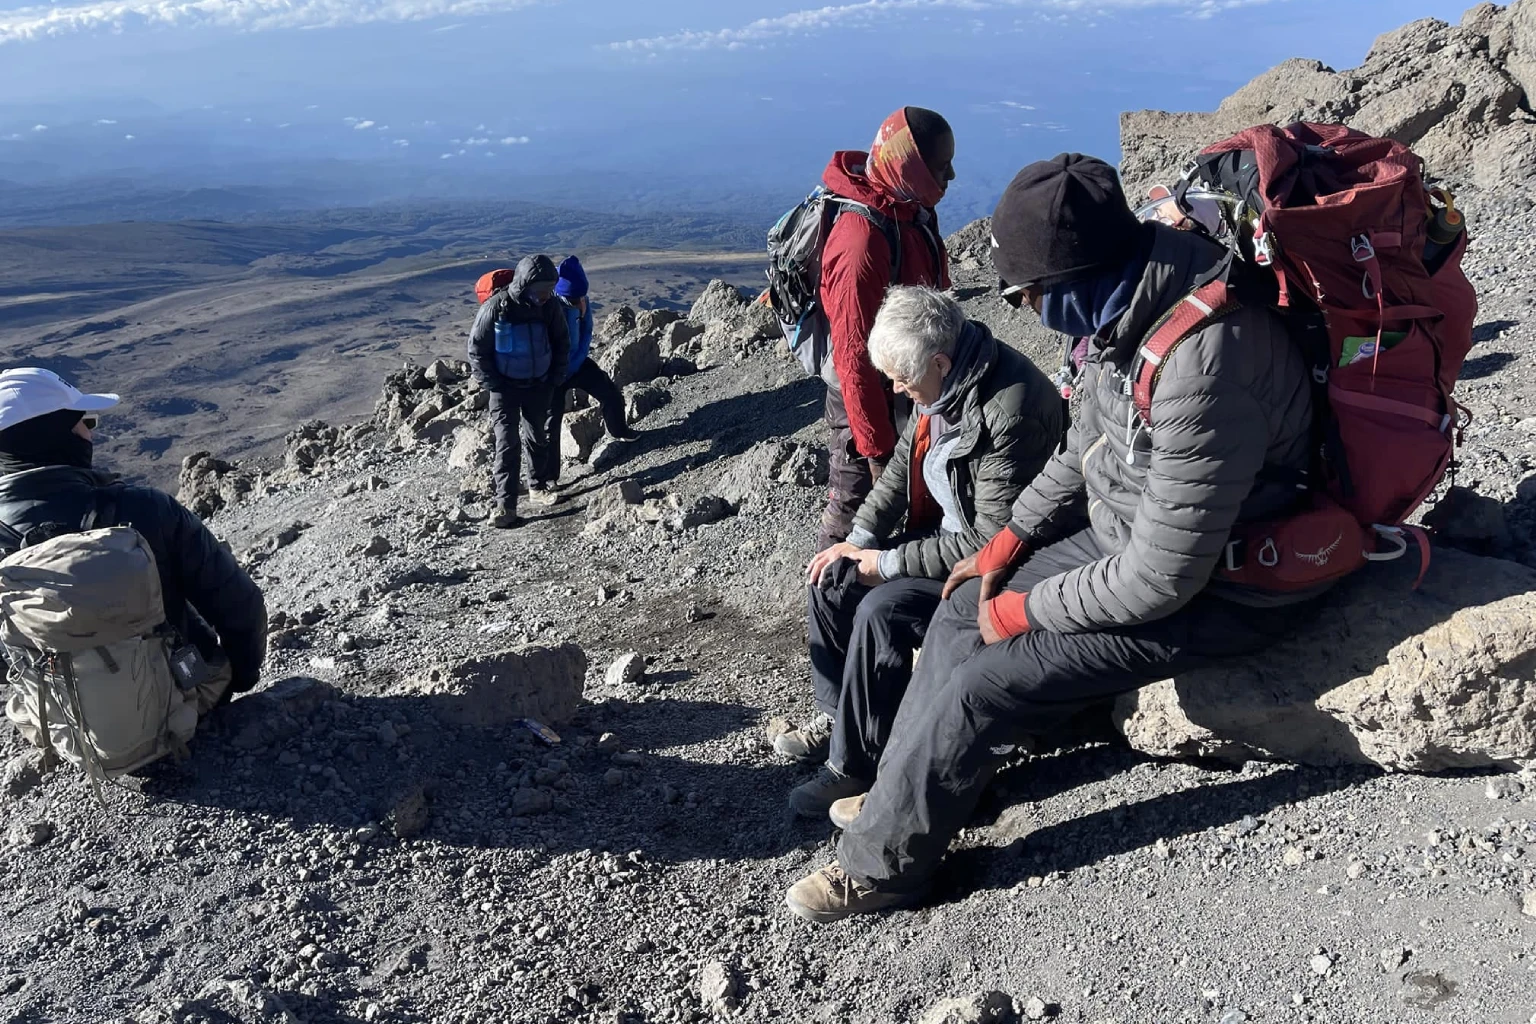
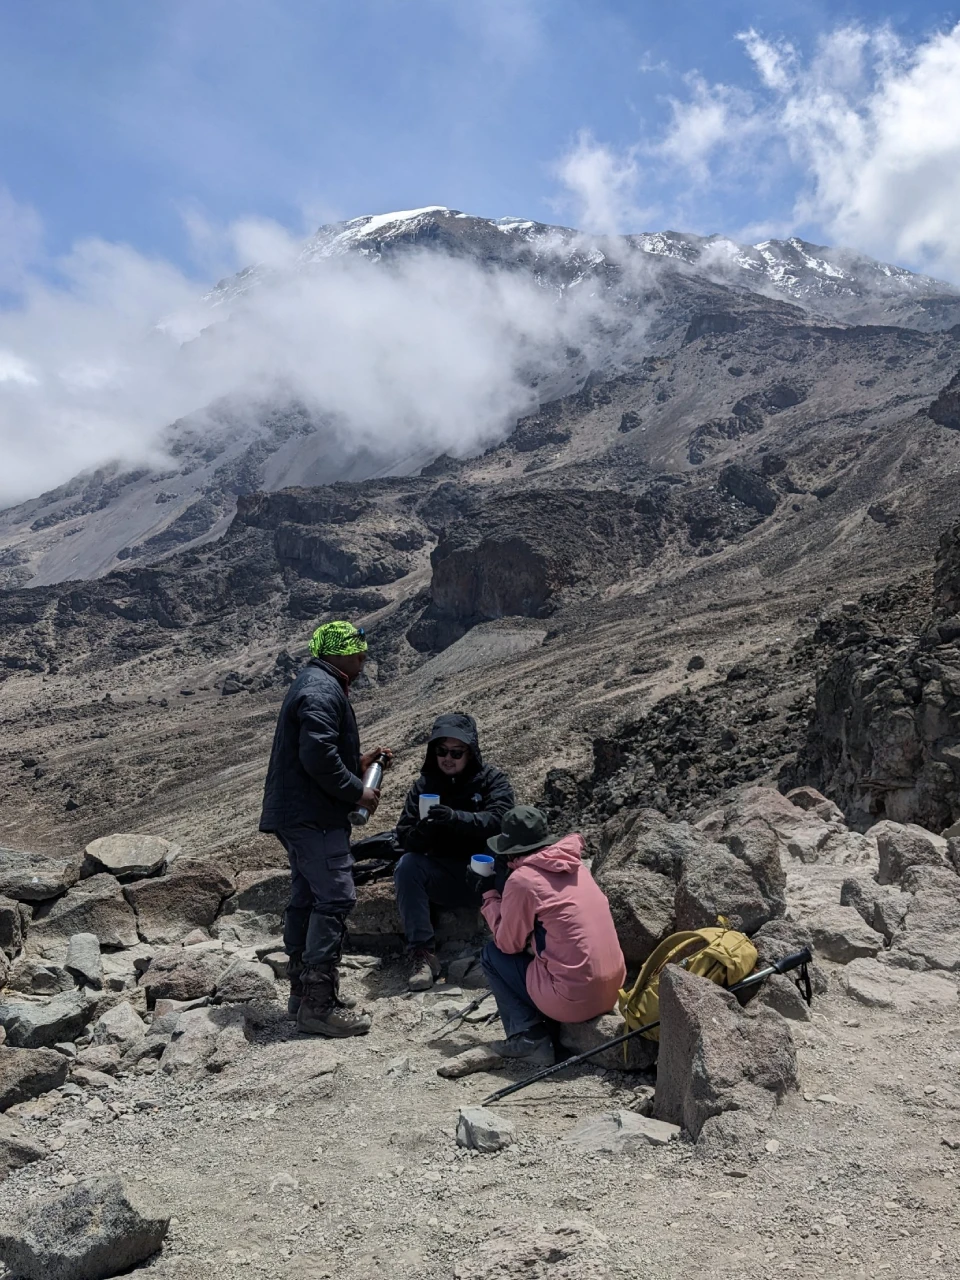
The descent is a different experience entirely. On summit day, from Uhuru Peak (5,895m) to Mweka Camp (3,100m), you lose approximately 2,700 metres of elevation in around six to eight hours. A substantial part of that descent — from Uhuru Peak down through Barafu Camp at 4,673 metres — is on loose volcanic scree. Each step downhill places eccentric load on the quadriceps and compressive force on the knee joint. Repeat that for thousands of steps, after a night without sleep at high altitude, and you begin to understand why knee conditions that cause no trouble on the way up can become genuinely limiting on the way down.
From Kilimania’s guiding records, the descent section between Barafu Camp and High Camp accounts for the majority of knee-related turnarounds and emergency descents. Knowing this before you go is not a reason to stay home — it is a reason to prepare specifically for it.
⚠️ The Section That Tests Knees Most
- Barafu to High Camp (Mweka): Loose scree, steep gradient, 6–8 hours of continuous downhill
- Accumulated fatigue: Climbers have been awake for 20+ hours by the time they begin descent
- Altitude hangover: Reduced coordination and pain perception at high elevation can mask early warning signs
- Weather window: Guides manage a tight schedule — descent pace is not always fully controllable
Knee Conditions: What Each One Means on Kilimanjaro
Not all knee conditions carry the same risk on Kilimanjaro. Here is how the most common conditions interact specifically with the demands of the mountain — based on what we observe across hundreds of climbs each year from our base in Moshi.
| Condition | Kilimanjaro Compatibility | Primary Risk Point | Key Interventions |
|---|---|---|---|
| Patellofemoral syndrome (runner’s knee) | Usually Compatible | Steep sustained downhill — particularly scree descent from Barafu | Quad strengthening (VMO focus), poles mandatory, patellar tracking brace |
| IT band syndrome | Usually Compatible | Repetitive lateral knee motion on uneven descent terrain | 12-week foam rolling + IT band stretching protocol before climb |
| Stable meniscus tear (non-surgical) | Usually Compatible | Twisting movements on loose rock | Poles for stability, avoid rushing descent, compression support |
| Post-meniscus surgery (6+ months) | Requires Ortho Clearance | Load tolerance depends on surgical repair type and rehabilitation progress | Written clearance from operating surgeon; confirm rehabilitation is complete |
| Moderate osteoarthritis | Manageable With Preparation | Prolonged compressive load on articular cartilage during descent | Rheumatologist consultation, anti-inflammatory protocol, poles, brace |
| Severe osteoarthritis | Medical Advice Required | Entire descent section — may be incompatible with 2,700m daily loss | Direct rheumatologist + guide consultation before booking |
| Recent ACL/PCL reconstruction (<12 months) | Not Recommended | Graft vulnerability under eccentric load and on unstable terrain | Delay climb until ortho clears full return to sport |
| ACL reconstruction (12+ months, fully rehabilitated) | Usually Compatible | Loose terrain requires strong proprioception — train specifically for this | Poles mandatory, proprioception training, functional brace if previously worn |
Patellofemoral Syndrome (Runner’s Knee)
This is the most commonly reported knee condition among Kilimanjaro climbers in our groups. The patella tracks incorrectly under sustained quad loading — and steep sustained downhill is exactly the trigger. Climbers with this condition can and do summit, but two things are non-negotiable: quadriceps strengthening in the twelve weeks before the climb (specifically the VMO muscle that stabilises the patella), and trekking poles used actively on every step of descent. A patellar tracking brace worn during descent provides additional support.
IT Band Syndrome
Less common but significant. The repetitive lateral knee motion on uneven volcanic terrain can ignite IT band pain during the descent. Prevention is more effective than treatment on the mountain: a twelve-week programme of foam rolling the lateral quad and IT band, combined with iliotibial band stretching, reduces onset risk substantially. If you have had IT band problems on long trail descents at home, anticipate that Kilimanjaro’s descent will be more demanding than anything you have done.
Meniscus Issues
Most stable, non-surgical meniscus conditions are compatible with Kilimanjaro provided you have orthopedic clearance. The primary risk is a twisting fall on loose scree. Trekking poles reduce fall risk significantly. If you have had meniscus surgery within the previous six months, we require written clearance from your operating surgeon before you join one of our expeditions.
Osteoarthritis
Moderate osteoarthritis in the knee is manageable with the right preparation. Many climbers in their 50s and 60s with moderate knee arthritis complete the Lemosho or Machame routes successfully. Severe arthritis — meaning daily pain limitations, significant cartilage loss visible on imaging, or restricted range of motion — requires a direct conversation between your rheumatologist, yourself, and your guide before any decision is made. We have had climbers in this category turn around at Barafu Camp, which is a responsible outcome, not a failure.
What Actually Helps: Four Evidence-Based Interventions
The Descent Protection Protocol — Used by Kilimania Guides
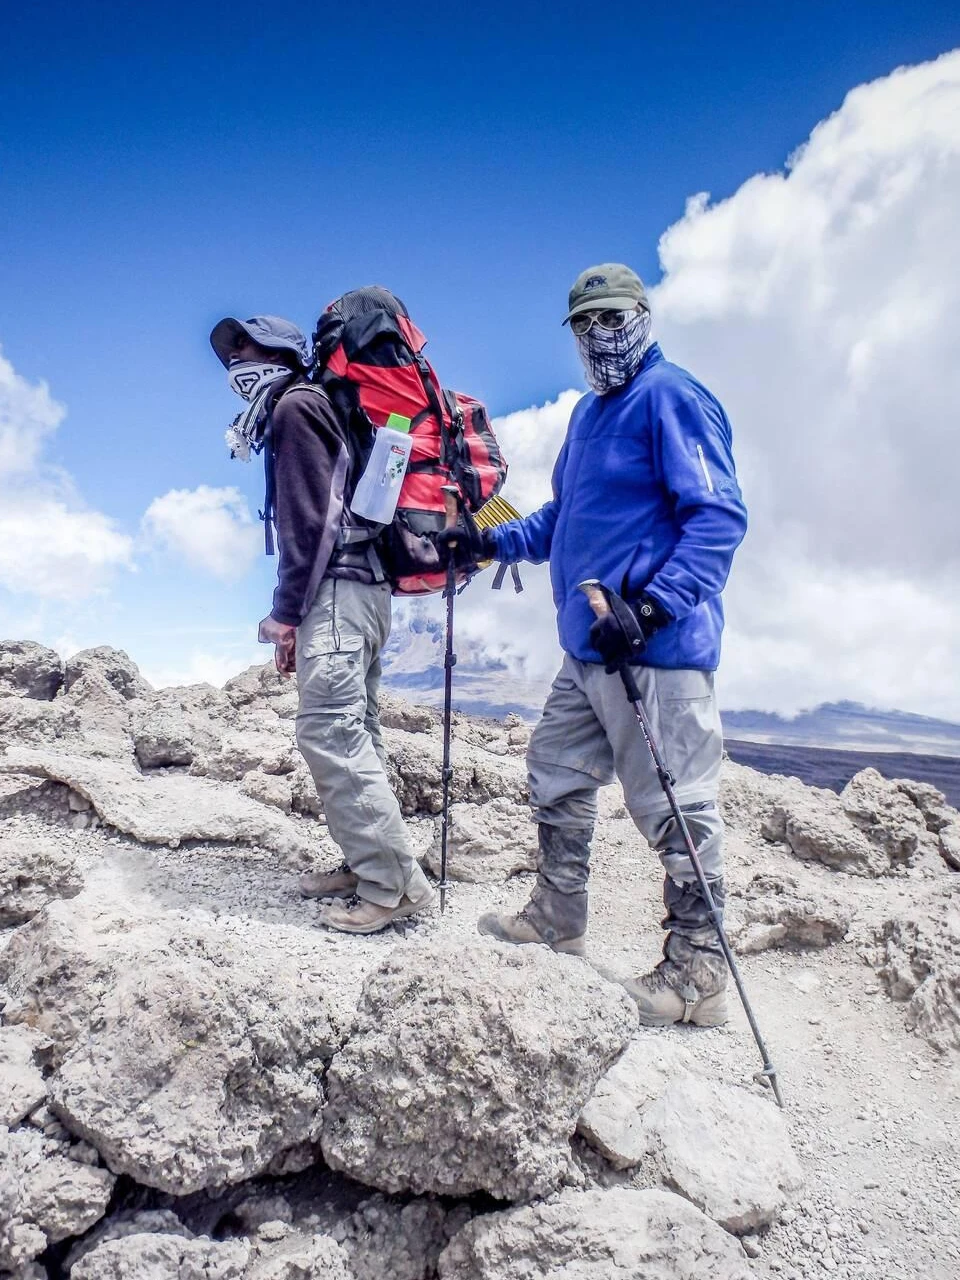
- Trekking Poles (Mandatory for Anyone With Knee Issues): Poles reduce compressive load on the knee joint by approximately 25% per step on descent.[1] That is not a marginal benefit — over 6–8 hours of continuous downhill, the cumulative reduction is substantial. Use them from the first day. Do not wait until your knees hurt. Our guides carry spare poles; for anyone with a diagnosed condition, bring your own quality poles from home — Moshi rental poles vary in condition and fit.
- Quadriceps Strength (The Primary Protective Factor): The quadriceps group is the primary shock absorber for the knee on steep descent. The stronger your quads, the less compressive force transfers to the joint itself. Twelve weeks of progressive quad strengthening before your climb — step-downs, wall sits, single-leg squats, loaded downhill walking — is more effective than any brace or medication. This is the intervention we see the clearest correlation with in our guided groups.
- Knee Brace (Bring From Home): If you use a brace during training or have been prescribed one, bring it from home. Do not assume it will be available in Moshi. Pharmacies in town carry basic compression sleeves, but specific patellar tracking braces, functional ACL braces, or custom orthotic insoles is not something we can promise in advance. Wear your brace throughout the summit descent day — not just when pain starts.
- Managed Descent Pace: Our guides are trained to slow descent pace for climbers with knee conditions. Slower is not just more comfortable — it genuinely reduces peak impact force on each step. A controlled, heel-plant-and-lower technique on steep scree distributes load differently to a rushed, gravity-led descent. Tell your guide your condition before departure day, not when you are already at Stella Point.
✅ What You Can Control Before the Climb
- Twelve-week quad strengthening programme starting immediately after booking
- Training with trekking poles from week one — build the coordination, not just the strength
- Orthopedic or physiotherapy assessment with written clearance for your file
- Practising downhill hiking with poles on real trails — not just gym squats
- Anti-inflammatory management agreed with your doctor if required
- Choosing a longer route (7-day Lemosho or 8-day Lemosho) for better rest between days
The 7-Day Lemosho Route: Our Recommendation for Climbers Managing Knee Conditions
Longer itineraries give your body — and your knees — more recovery time between hiking days. The Lemosho Route also has one of the highest summit success rates on the mountain.
View 7-Day Lemosho Itinerary View 8-Day OptionWhich Route Suits Bad Knees?
Route choice affects knee load in two ways: the number of rest days (which allow recovery between descent sections) and the specific terrain on descent day. Here is how the main routes compare from a knee-health perspective.
| Route | Days | Knee Friendliness | Key Consideration |
|---|---|---|---|
| Lemosho | 7–8 days | Recommended | Gradual profile, extra rest day, highest success rate — the route we recommend most for knee conditions |
| Northern Circuit | 9–10 days | Recommended | Longest route, maximum acclimatization, extra recovery days — good for climbers with moderate arthritis |
| Machame | 6–7 days | Suitable With Preparation | Steeper daily sections but well-structured; 7-day preferred for knee conditions over 6-day |
| Rongai | 6 days | Suitable With Preparation | Gentler gradient on ascent — but still requires same summit descent on scree |
| Marangu | 5–6 days | Caution — Shorter Itinerary | Hut accommodation (no tent poles to carry) but shorter time frame means less recovery between days |
| Umbwe | 6 days | Not Recommended | Steep direct ascent — highest daily gain, least recovery time, lowest success rate |
What Your Guide Needs to Know
We cannot help you manage a knee condition we do not know about. Before departure day — ideally at the pre-climb briefing in Moshi — tell your guide the following:
- The specific diagnosis (not just “bad knee” — we need the clinical name)
- Whether you have had surgery, and how long ago
- What aggravates your symptoms (stairs, downhill, cold temperatures)
- Whether you use a brace, and which type
- Any medication you are taking for inflammation or pain
- Your orthopedic doctor’s written recommendation, if you have one
- Your agreed turnaround criteria — the elevation at which you will accept a descent if pain becomes unmanageable
That last point matters. We have seen climbers push through severe knee pain because they felt embarrassed to stop. That is how manageable conditions become injuries requiring emergency descent. Agree a clear threshold with your guide before you leave Barafu Camp on summit night.
ℹ️ What to Discuss With Your Doctor Before Booking
- Confirm your diagnosis is stable and not acutely inflamed
- Ask specifically whether 2,700m of elevation loss in 6–8 hours on loose terrain is compatible with your condition
- Request a written medical clearance letter — bring it to Moshi
- Discuss anti-inflammatory or pain management for the descent day (NSAIDs, topical gels)
- Ask whether your condition requires altitude-specific considerations (some arthritis medications interact with altitude physiology)
“I have guided climbers with replaced hips, surgically repaired knees, and significant arthritis to Uhuru Peak. What they had in common was not physical perfection — it was preparation and honesty. The climbers who struggle are the ones who hide their condition until Barafu Camp and then ask for help when it is already serious. Tell me before we leave Moshi. We will build your descent plan around what your knees actually need — not what you hope they can handle.”
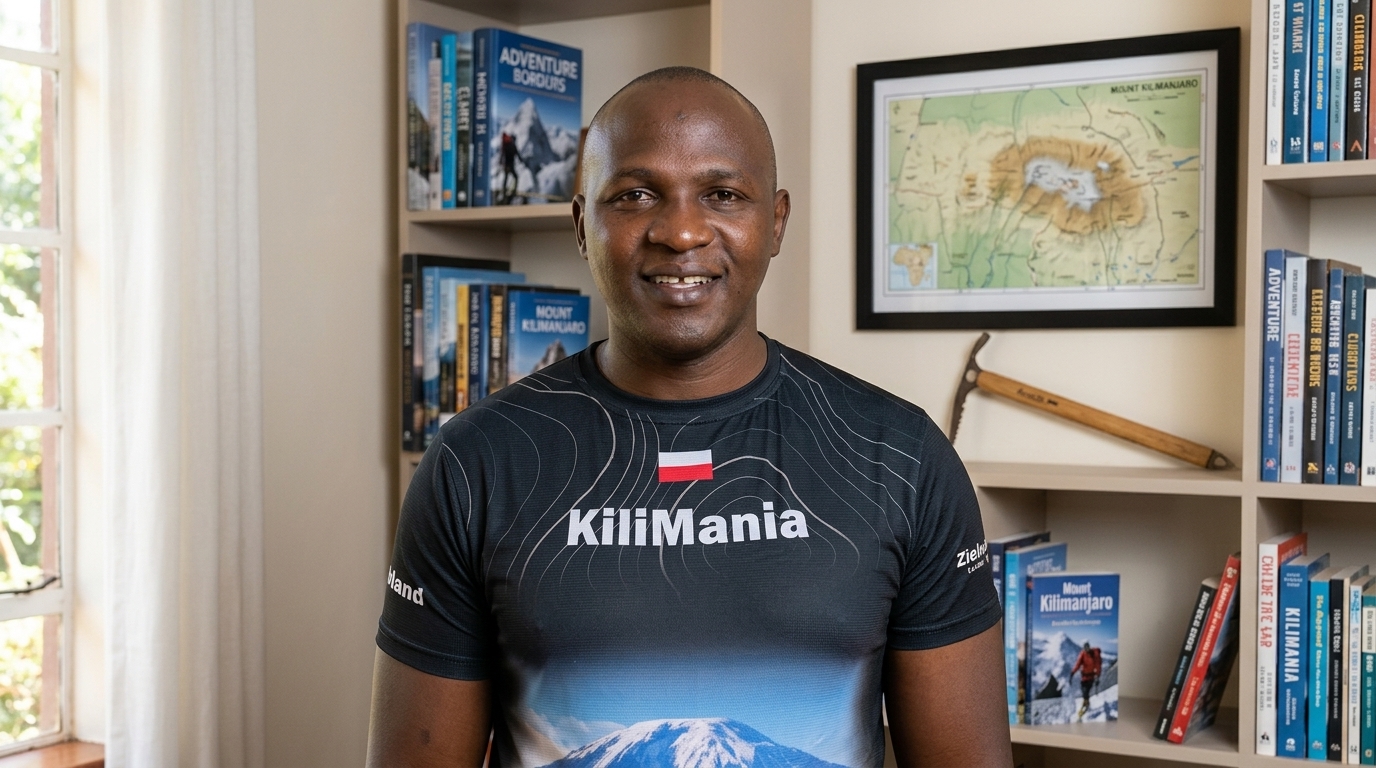 Sabinus Msimba — Senior Kilimanjaro Mountain Guide & Co-founder, Kilimania Adventure, Moshi.
22 Years on Kilimanjaro · KINAPA Licensed · Wilderness First Responder
Training for the Descent: 12-Week Knee Protection Plan
Generic Kilimanjaro training guides focus on cardiovascular fitness. For climbers with knee conditions, the training priority is different: eccentric quadriceps strength and downhill-specific conditioning. This is not a gym programme — it is a trail programme designed specifically to replicate the descent demands.
| Phase | Weeks | Primary Focus | Specific Exercises |
|---|---|---|---|
| Foundation | 1–4 | Basic quad and glute strength; pain-free range of motion | Wall sits (60 sec), step-ups, clamshells, IT band foam rolling |
| Loading | 5–8 | Eccentric loading; downhill hiking with poles; increasing pack weight | Step-downs (slow), loaded downhill walks 2x/week, single-leg squats |
| Simulation | 9–11 | Back-to-back long days; sustained downhill on natural terrain | 6-hour hike day 1 + 4-hour hike day 2 on consecutive days with full pack |
| Taper | 12 | Reduce volume; maintain frequency; arrive fresh | Short 90-min hikes only; stretching; knee physio check-up |
📥 Free Download: Kilimanjaro 12-Week Training Calendar
Download the same week-by-week training plan used by Kilimania Adventure guides and built from patterns observed across guided climbs from Moshi.
- 12-week hiking and endurance plan with knee-specific progressions
- Pack weight progression schedule
- Back-to-back training schedule for descent simulation
- Peak and taper strategy
Prepared by Sabinus Msimba, Senior Kilimanjaro Mountain Guide, Kilimania Adventure.
Medical Honesty: What This Page Cannot Tell You
This page can explain how Kilimanjaro’s terrain affects specific knee conditions. It cannot assess your individual knee. The only person who can do that is an orthopedic surgeon or sports medicine physician who has examined you and reviewed your imaging.
For anyone with a diagnosed knee condition planning a high-altitude trek, we strongly recommend:
- An orthopedic or sports medicine consultation specifically framed around “high-altitude trekking with 2,700m of daily descent on loose scree” — use those exact words
- Written clearance from your specialist (not just verbal) to bring to Moshi
- A conversation with your Kilimania guide before departure about agreed turnaround criteria
- Travel insurance that covers medical evacuation from altitude — see World Nomads or IMG Global for altitude-specific policies
🚨 Conditions That Require Medical Clearance Before Booking
- Any knee surgery in the previous 12 months
- Severe osteoarthritis with daily pain at rest
- Active inflammatory arthritis (rheumatoid, psoriatic) — note: some biologics and altitude do not combine well
- Unstable ligament conditions not yet surgically addressed
- Any condition where a physio or ortho has advised against “high-impact descents”
📥 Free Download: Kilimanjaro Altitude Symptom & AMS Checklist
Altitude illness is a leading reason climbers turn around on Kilimanjaro. This checklist is used by Senior Guide Sabinus Msimba throughout every expedition.
- Normal acclimatization symptoms above 3,000m
- Acute Mountain Sickness (AMS) warning signs
- HACE and HAPE emergency indicators
- Daily health monitoring form (SpO₂, pulse, hydration)
For educational purposes only. Does not replace professional medical advice.
After the Descent: Knee Recovery
What you do in the 48 hours after summit day matters almost as much as the preparation. The knee joint has absorbed thousands of eccentric loading cycles. Inflammation is likely elevated even if you do not feel immediate pain.
- Ice within 2 hours of reaching Mweka Gate: 15 minutes on, 15 minutes off, repeated twice. This reduces inflammatory cytokine activity in the synovial membrane.
- Elevate above heart level when resting: Use a rolled jacket or pillow under the calf — not under the knee itself — to encourage lymphatic drainage without forcing the joint into flexion.
- Gentle movement, not immobilisation: Short, flat walks of 10–15 minutes every 4–6 hours keep synovial fluid circulating and prevent stiffness. Avoid stairs for 72 hours if possible.
- Continue anti-inflammatory protocol: If your doctor approved NSAIDs for the climb, continue the agreed schedule for 24–48 hours post-descent unless contraindicated.
- Re-assess before safari or travel: Do not book a walking safari or long-haul flight within 24 hours of descent. The knee needs at least one full day of unloaded recovery before additional stress.
Most post-climb knee soreness resolves within 5–7 days. If pain persists beyond 10 days, or if you experienced swelling during descent, arrange an orthopedic follow-up on your return.
Frequently Asked Questions: Kilimanjaro With Bad Knees
Many climbers with existing knee conditions successfully summit Kilimanjaro. The ascent is gradual and pace-controlled. The real challenge is the descent from Uhuru Peak: 2,700 metres of elevation loss in a single day on loose volcanic scree. Whether your specific condition permits the attempt depends on its type and severity — orthopedic clearance is essential before you book.
Yes. Research shows that trekking poles reduce compressive force on the knee joint by approximately 25% per step on descent. Over thousands of downhill steps on loose scree, that reduction is material. For any climber with a diagnosed knee condition, poles are not optional equipment — they are a medical necessity. Bring quality poles from home; do not rely on rental availability in Moshi.
If you use a knee brace in daily training or have been prescribed one by an orthopedic specialist, bring it from home. Do not rely on sourcing one in Moshi — stock varies and specific types are often unavailable. Patellar tracking braces and compression sleeves are both commonly used on summit descent day. Discuss the correct brace type with your physiotherapist or orthopedic surgeon before departure.
Yes, significantly. The ascent is spread over 5–7 days at a controlled pace with gradual elevation gain. The descent from Uhuru Peak (5,895m) to Mweka Camp (3,100m) covers 2,700 metres of elevation loss in approximately 6–8 hours — most of it on loose volcanic scree. Every step downhill applies eccentric load to the quadriceps and compressive force to the knee joint. This is where existing conditions become genuinely limiting.
Moderate osteoarthritis is generally manageable with preparation: quadriceps strengthening, trekking poles, appropriate bracing, and anti-inflammatory management agreed with your rheumatologist. Severe osteoarthritis — particularly if it limits your daily walking — requires a direct conversation between your rheumatologist and an experienced Kilimanjaro guide before any decision is made. We have guided climbers over 60 with moderate arthritis to Uhuru Peak. We have also advised some climbers with severe arthritis not to attempt it. Honesty from both sides leads to the right outcome.
Before departure, inform your guide of: the specific diagnosis, any recent surgery and how long ago, your current mobility level, what aggravates symptoms, whether you use a brace or take medication, and your orthopedic doctor’s written recommendation. This allows your guide to adjust daily distances, manage descent pace, and identify a safe turnaround point if needed.
The 7-day Lemosho Route or 8-day Lemosho Route are our recommendation for climbers managing knee conditions. The longer itinerary provides more recovery time between hiking days and a higher acclimatization profile — which also reduces the likelihood of an emergency rapid descent due to altitude illness. The 9-day Northern Circuit is the most conservative option for climbers with moderate to significant knee concerns.
The Bottom Line: An Honest Assessment
Most climbers with knee conditions can attempt Kilimanjaro. Not all of them should. The line between the two is drawn by the severity of your condition, the quality of your preparation, and the honesty of the conversation between you, your doctor, and your guide.
The ascent is not the problem. Six to eight hours of continuous downhill on loose volcanic scree, after a night without sleep at altitude, with 2,700 metres of elevation loss — that is the real test. If your knees cannot handle that under good conditions at sea level, Kilimanjaro at 5,895 metres will not improve the equation.
If your knees can handle demanding descents with the right preparation, there is every reason to attempt the mountain. We have guided climbers with arthritis, post-surgical knees, and patellofemoral pain to Uhuru Peak — with preparation, poles, the right pace, and honest communication throughout. Read our full guide to climbing Kilimanjaro with medical conditions for broader context, and see our Kilimanjaro training guide for the full 12-week preparation framework.
Ready to Talk About Your Climb?
Our team in Moshi has guided climbers with every type of knee condition. Tell us your situation and we will give you a direct assessment — no pressure, no generic answers.
Contact the Team WhatsApp +255 756 449 990Related Guides


Data Sources & References
- Schwameder H, Roithner R, Müller E, Niessen W, Raschner C. Knee joint forces during downhill walking with hiking poles. J Sports Sci. 1999;17(12):969-978. PubMed
- Kilimania Adventure guiding records (2019–2025), Moshi, Tanzania.
- KINAPA (Kilimanjaro National Park Authority). Official trail elevation profiles and distance measurements. kilimanjaranationalpark.go.tz
- TANAPA (Tanzania National Parks). Park regulations and safety guidelines for high-altitude trekking. tanzaniaparks.go.tz