Kilimanjaro Trekking Poles: Do You Need Them?
Written by Sabinus Msimba, Senior Kilimanjaro Guide and Co-founder, Kilimania Adventure. 22 years guiding on Kilimanjaro. 300+ summits. Last reviewed June 2026.
Disclosure: Kilimania Adventure is a TATO-registered safari and Kilimanjaro operator based in Moshi, Tanzania. We encourage you to compare quotes with at least two other TATO-registered operators before booking. This article reflects first-hand guiding experience and publicly available research; it is not a substitute for professional medical or equipment advice.
Found this guide useful? Share it with someone preparing for Kilimanjaro.
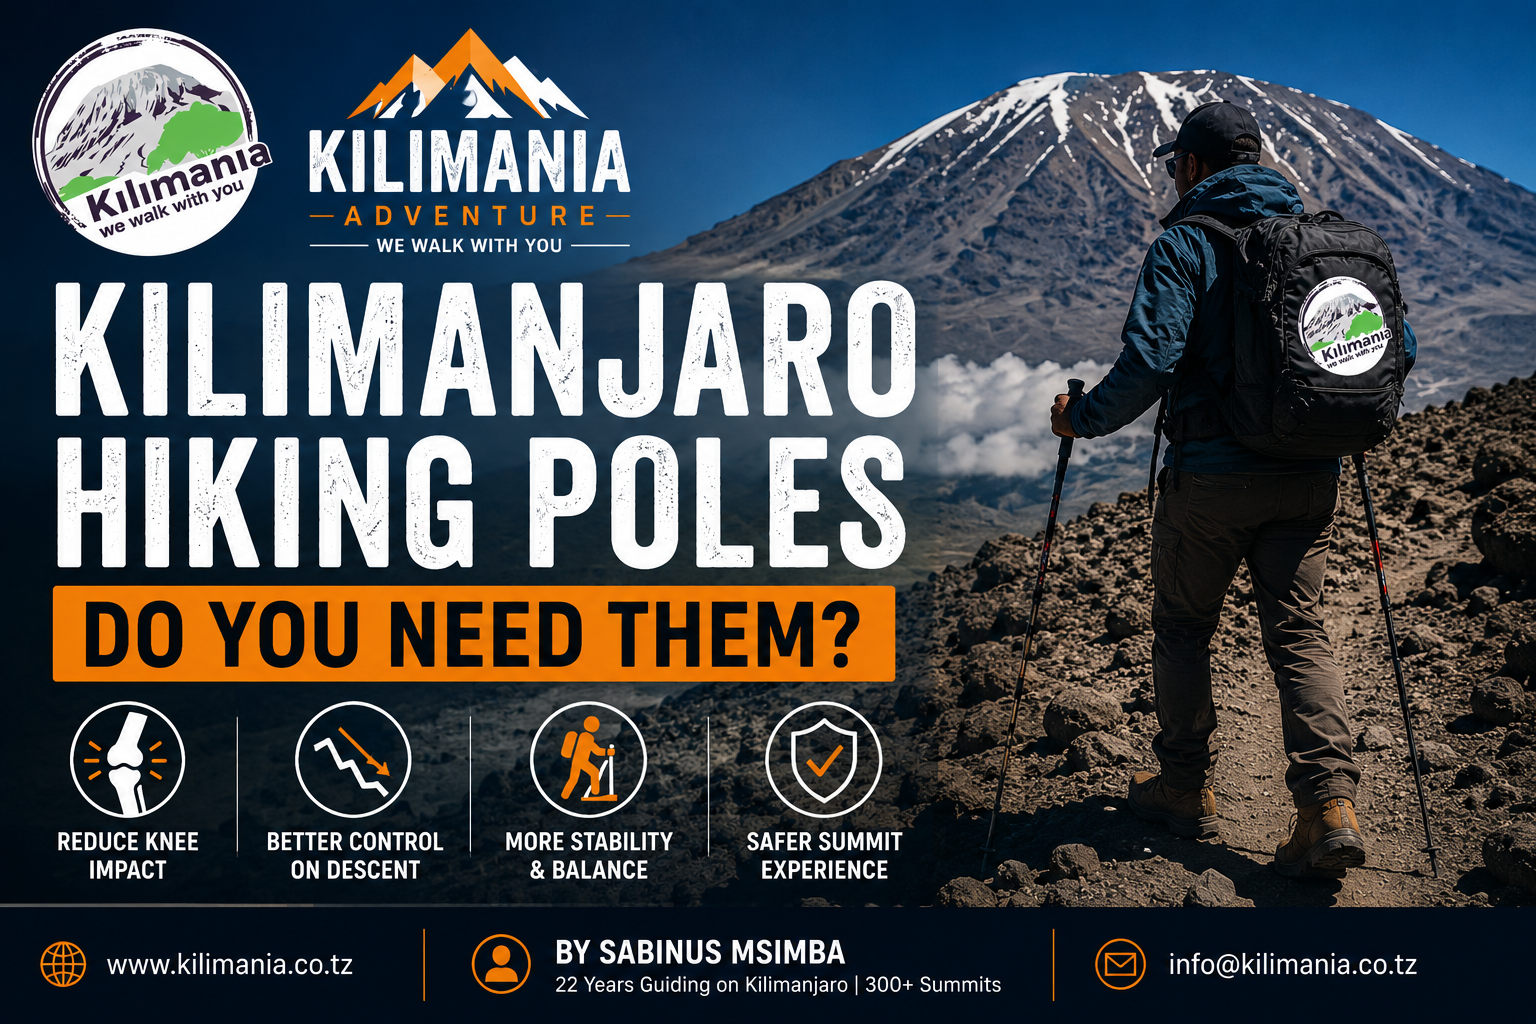
No — trekking poles are not required by TANAPA to climb Kilimanjaro. But for most trekkers, we strongly recommend carrying two, particularly for the descent from Uhuru Peak (5,895m) to Mweka Camp (3,100m), which drops roughly 2,700m over loose volcanic scree in a single day. This guide explains when poles help, when they get in the way, whether to rent or buy, and how to use them correctly on summit night — based on what our guides observe on the mountain every week.
Quick Answer
| Question | Answer |
|---|---|
| Are poles required? | No — TANAPA does not require them |
| Are they recommended? | Yes — strongly for the descent |
| One or two? | Two |
| When most useful? | The descent from Uhuru Peak to Mweka Camp |
| Barranco Wall? | Stow/collapse — both hands needed |
| Rent or buy? | Rent in Moshi if this is a one-off climb |
| Practice first? | Yes — a few practice hikes help |
Why the Descent Matters Most
Most generic pole advice is written for day hikes, not for Kilimanjaro’s specific problem: an unusually long, fast, and fatigued descent. Summit night starts around midnight from Barafu Camp (4,673m) or a similar high camp. You climb through darkness for six to eight hours to reach the summit, then turn around and descend immediately — through Stella Point, back across the loose scree fields, past Barafu, and on to Mweka Camp. That is roughly 2,700m of elevation loss completed on legs that have already been climbing for 16 to 19 hours straight.
Above about 4,800m, the ground is loose volcanic scree that shifts underfoot with every step. Your boot sinks a few centimetres, and without something to brace against, your knees and lower legs absorb the full jolt each time your foot catches. Research on downhill walking — including a widely cited 1999 study by Schwameder et al. in the Journal of Sports Sciences — has found that trekking poles can reduce loading on the knees and lower limbs during prolonged descents, though the exact benefit depends on terrain, technique, body weight, and how the poles are used. It is not a single fixed number that applies to every climber.
Kilimania guide observation (2023–2025): Across 214 Kilimania climbs involving clients aged 50 and above, our guides recorded that climbers using two trekking poles generally descended with fewer reports of knee discomfort than those who did not use poles. This is an internal guide observation based on post-climb reporting — not a controlled scientific study — so it should not be interpreted as proof that poles alone caused the difference. It reflects a consistent pattern our guides have noticed across hundreds of expeditions.
For a full picture of the route and timing, see our hour-by-hour summit night guide.
Are Trekking Poles Required?
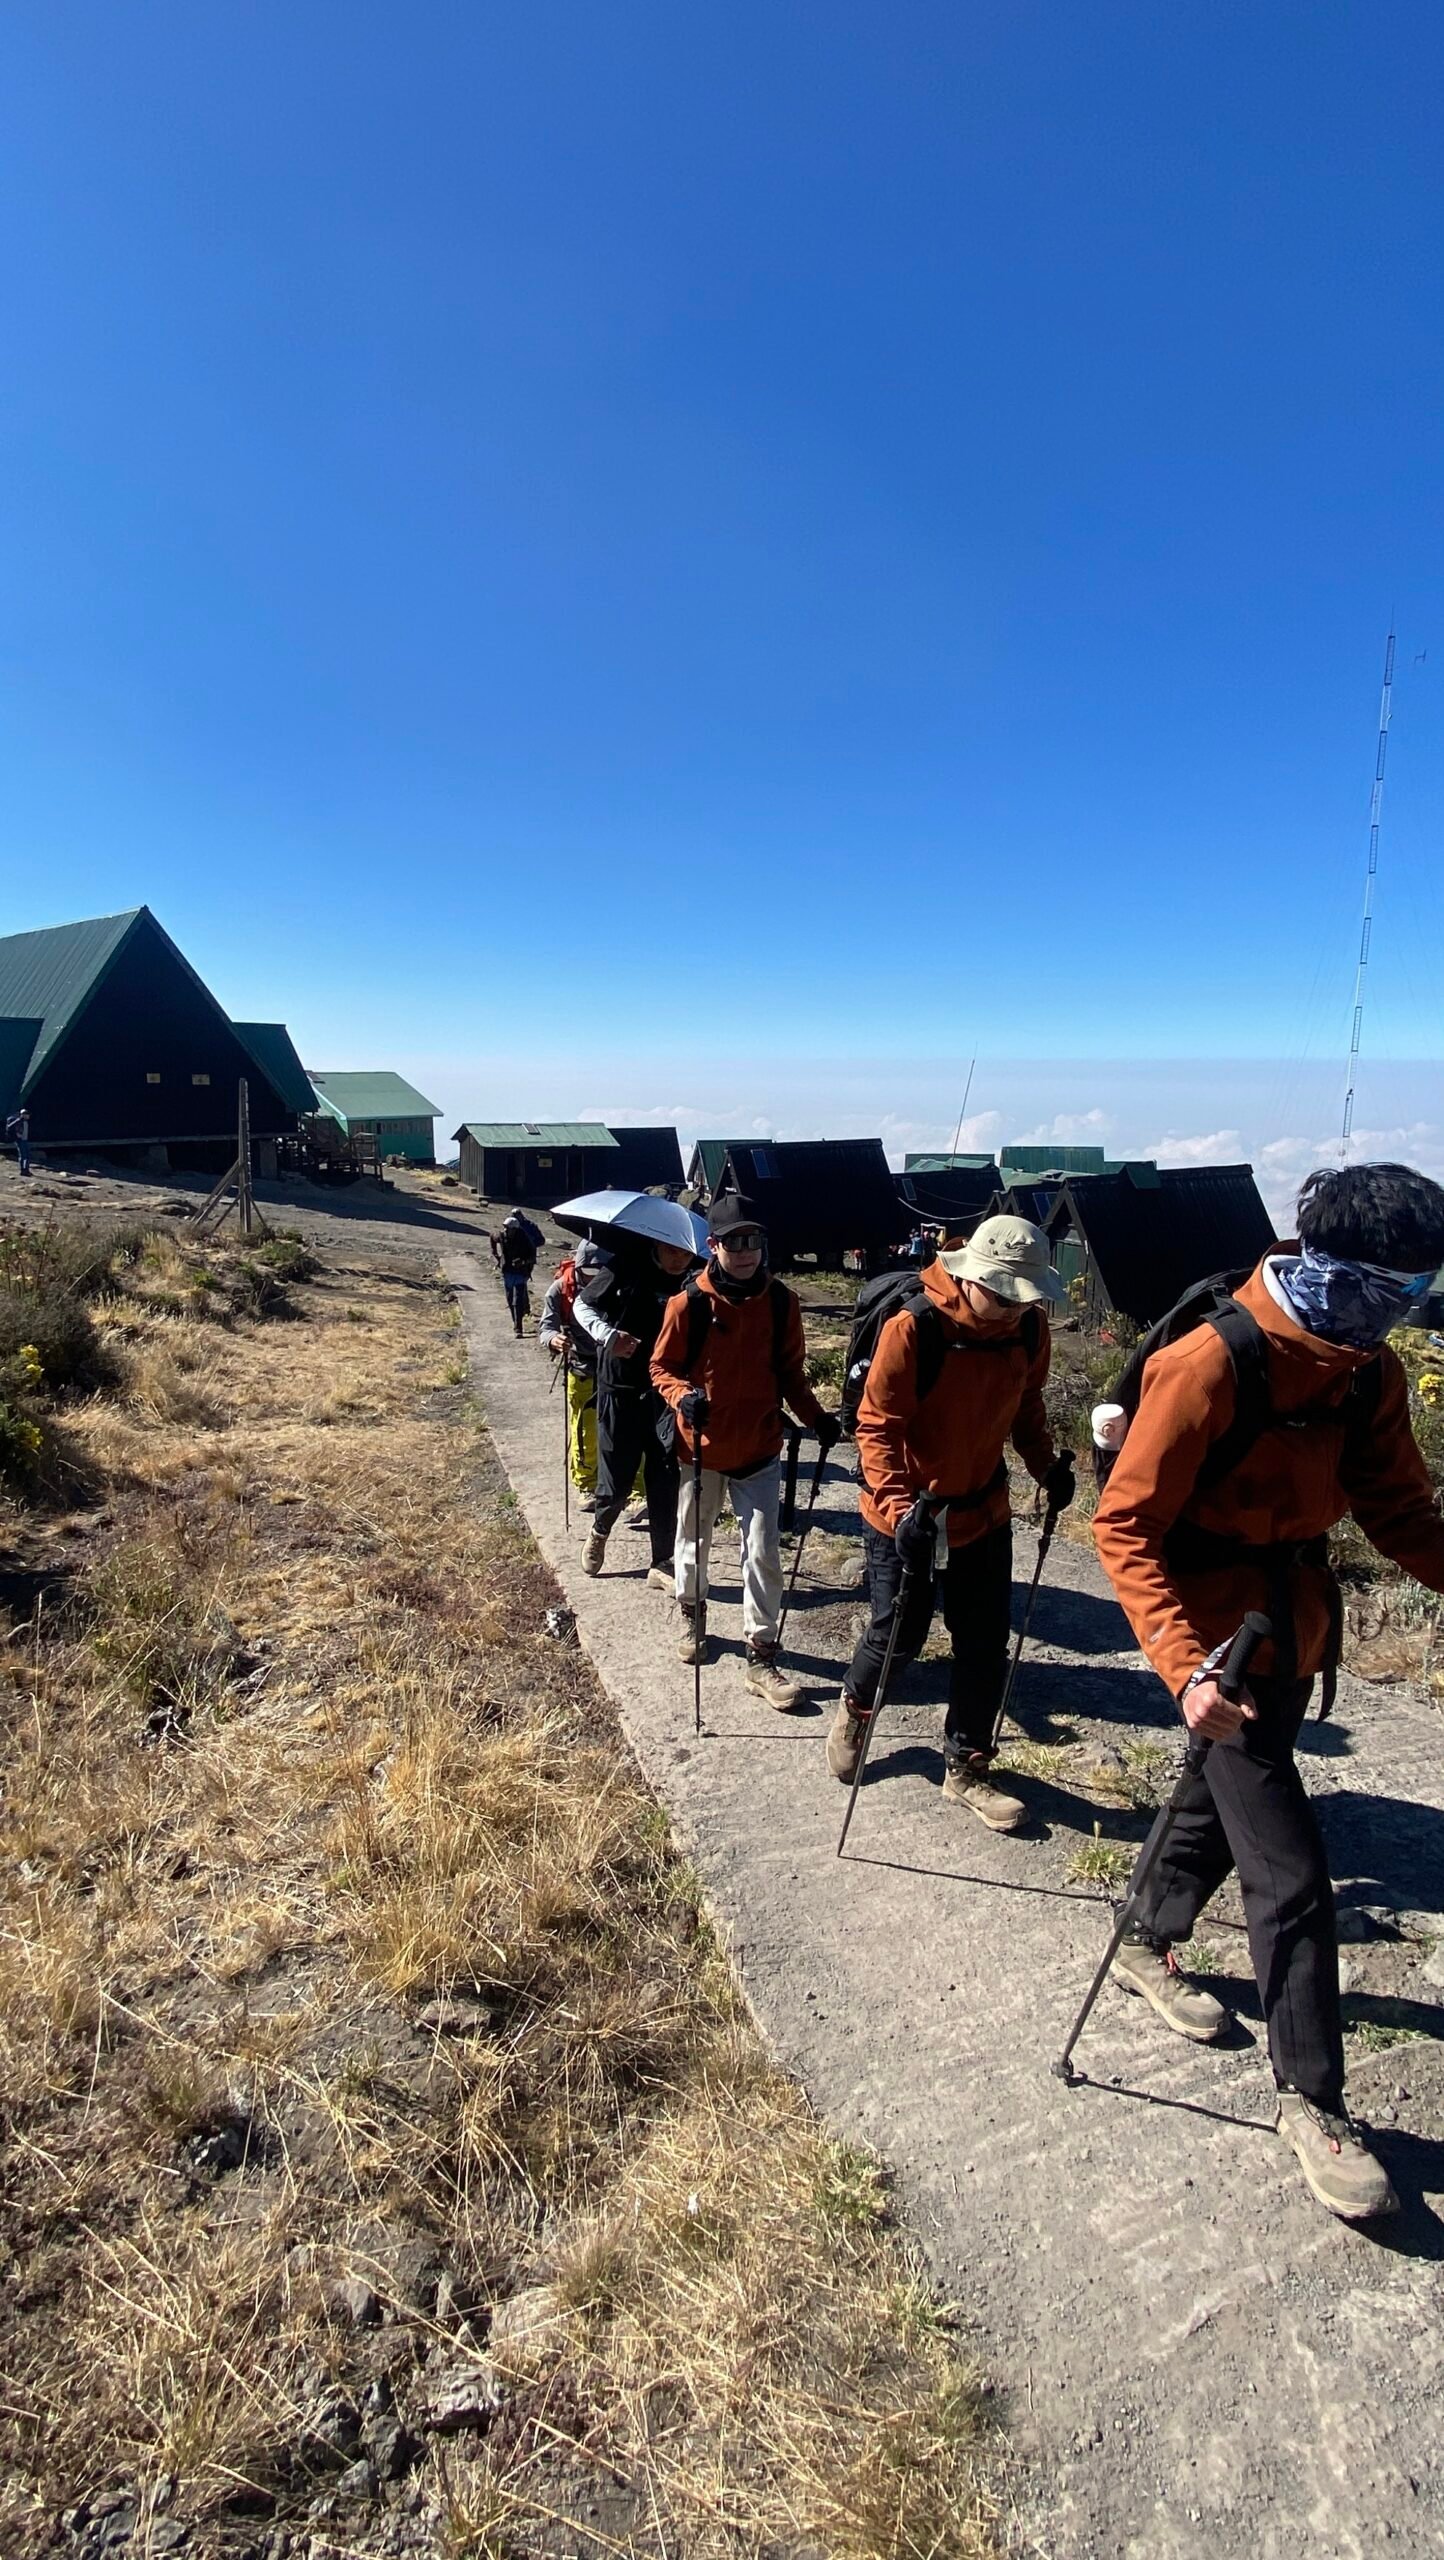
No. TANAPA (Tanzania National Parks Authority) does not list trekking poles as mandatory equipment for a Kilimanjaro climb. You will not be turned away at the gate for not carrying them. The recommendation to use poles comes from operators and guides based on what actually happens during the long descent — it is practical guidance, not park regulation.
Can You Climb Kilimanjaro Without Poles?
Yes. Fit, healthy climbers summit Kilimanjaro without poles every week. If you have strong knees, good balance, and no significant joint history, you can reasonably skip them — particularly on shorter, less technical routes. What you lose by skipping poles isn’t the ability to reach the summit; it’s a buffer of comfort and stability on the one section of the climb where fatigue, loose terrain, and altitude combine at the same time.
If you have a history of knee pain, a previous ACL injury, limited balance, or little experience with steep, loose descents, our guides strongly recommend two poles. This is trekking guidance, not a medical diagnosis. If you have a specific joint or medical condition, consult your doctor before your trip. For more context on preparation, see our guide on fitness assessment for Kilimanjaro.
One Pole or Two?
Use two. A single pole can help with rhythm on flat, well-formed trail sections, but it cannot match two poles for balance on uneven scree or for distributing load across both arms during the descent. Carrying one pole saves almost no weight while giving up the practical benefit. Kilimania guides recommend two poles for anyone who decides to bring them.
Ascent vs Descent — When Poles Actually Help
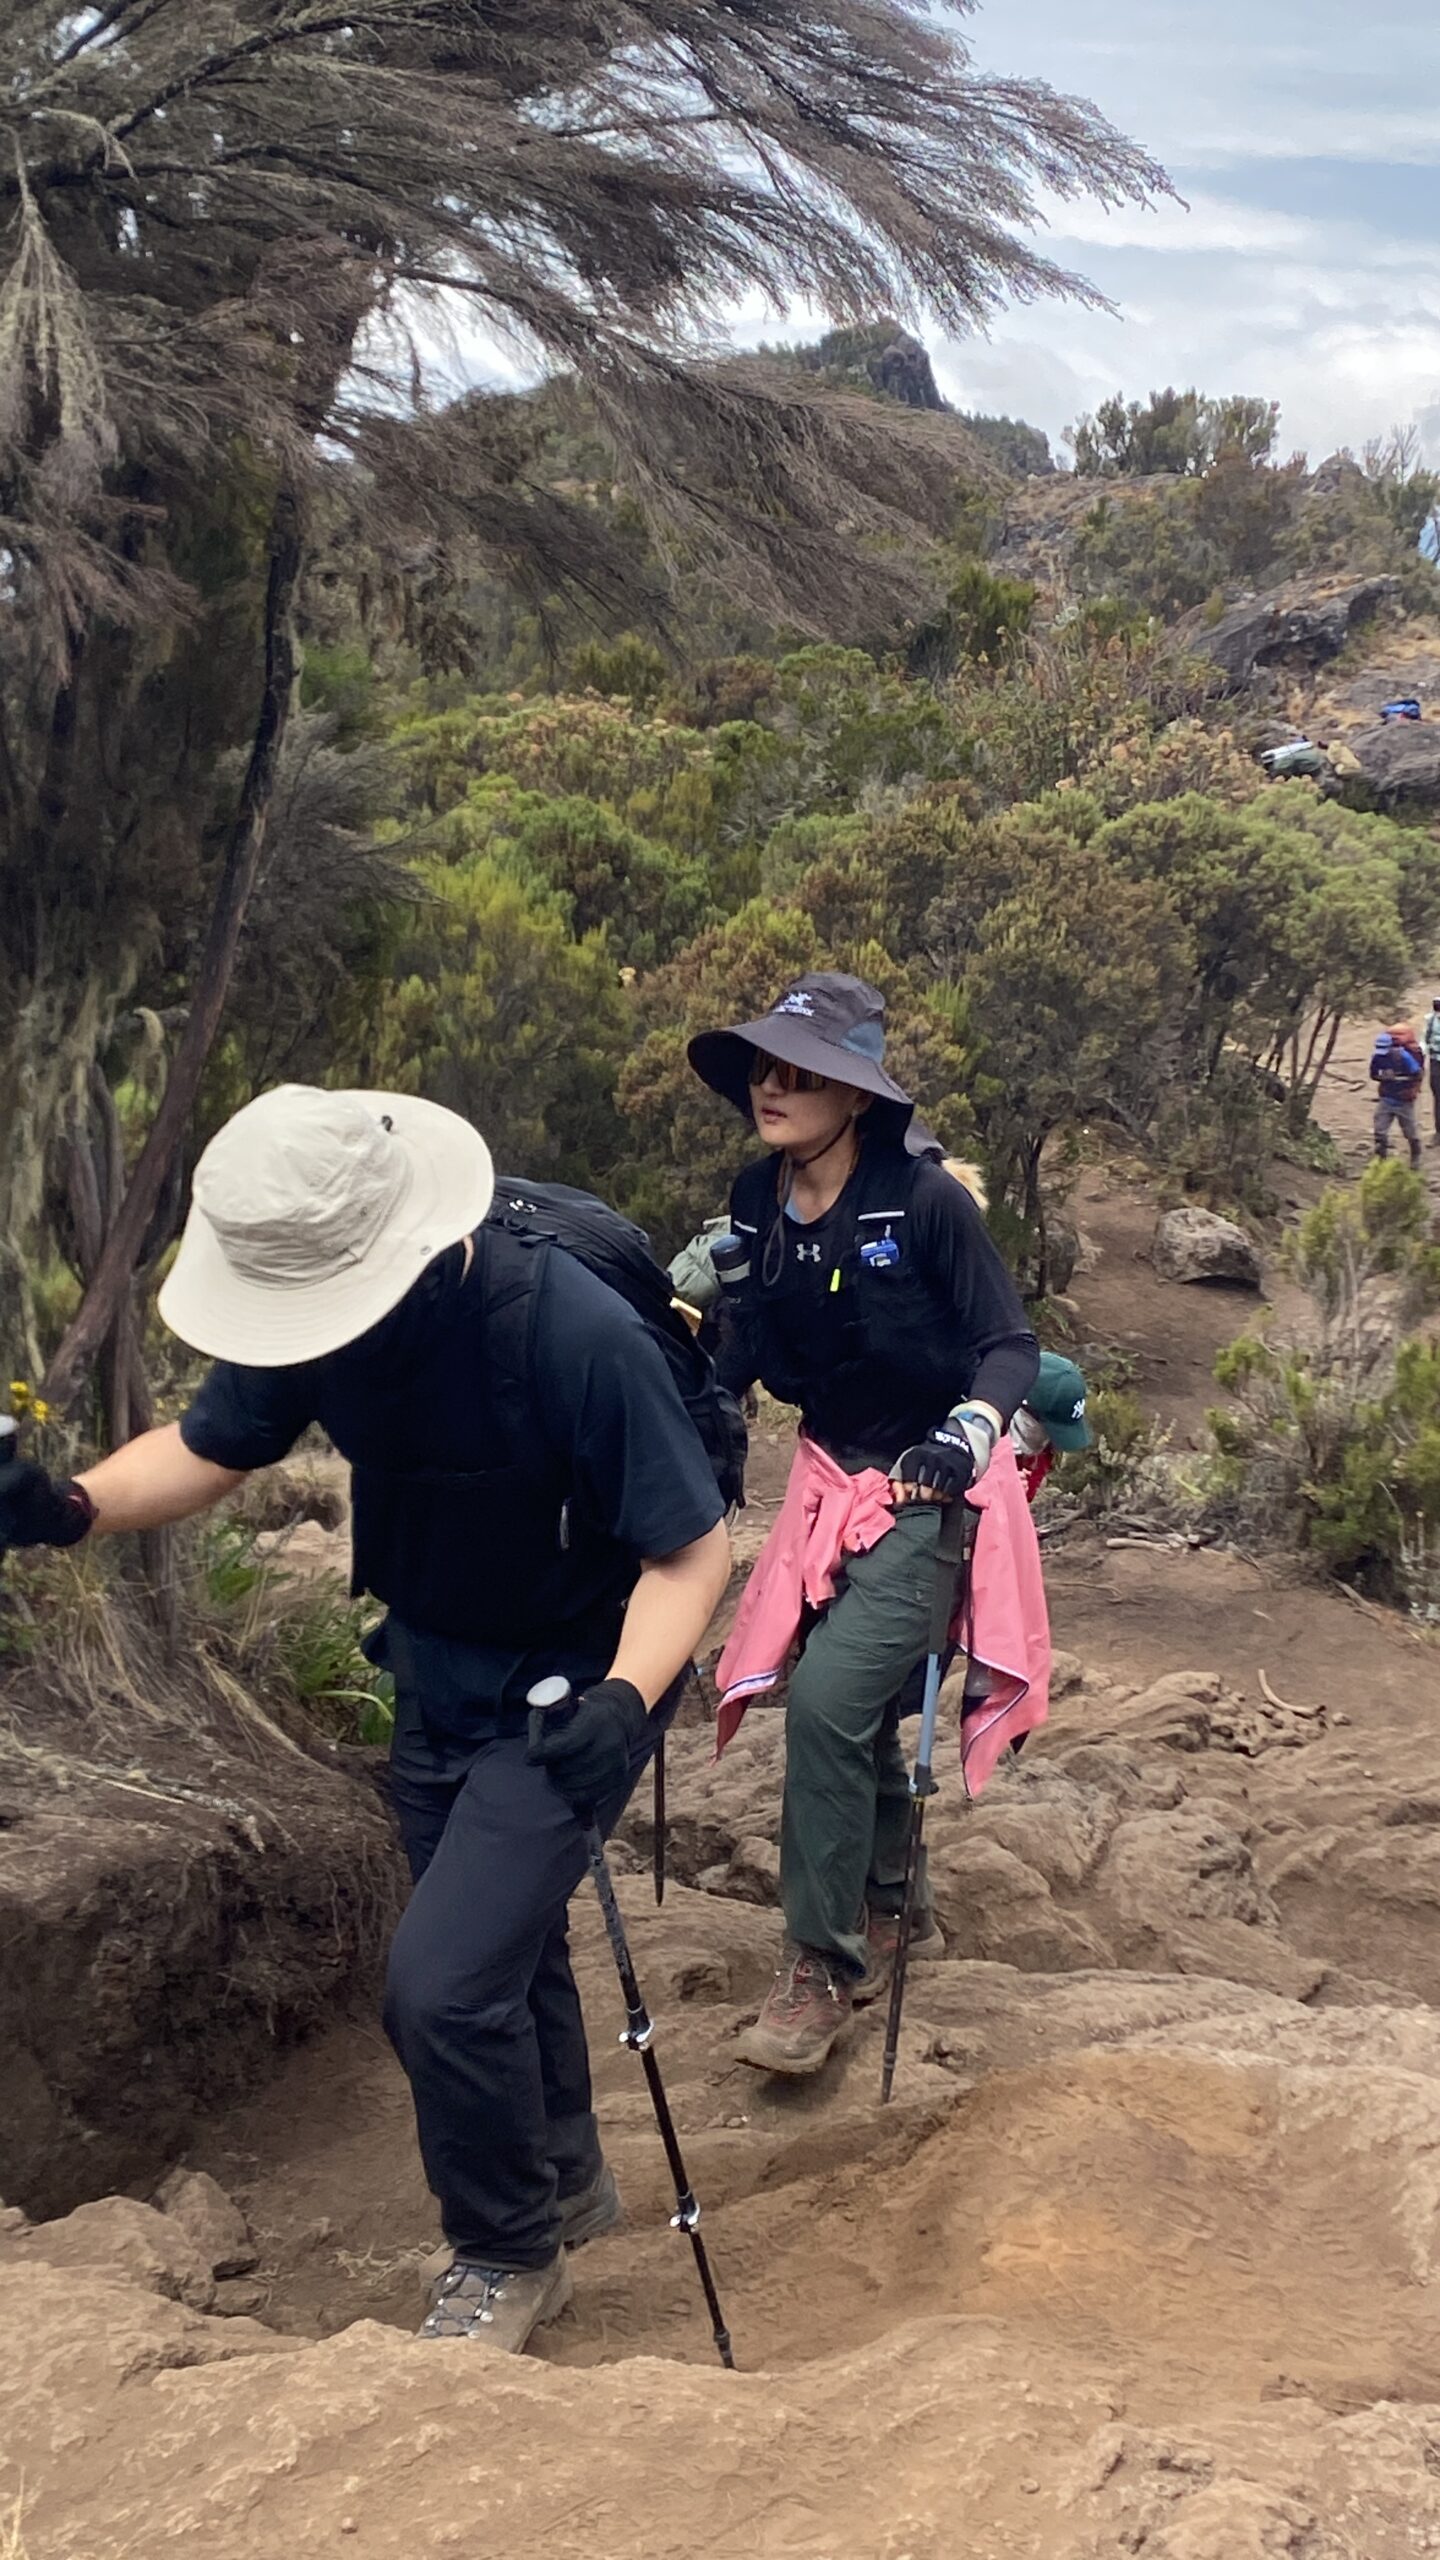
On the ascent, the pace is deliberately slow — typically 1.5–2.5 km/h — on well-formed trail. Legs are fresh, packs are light, and a fit climber can summit without poles without major difficulty. Many climbers leave poles strapped to their pack for most of the first five or six days.
On the descent, speed increases, terrain turns to loose scree, and fatigue peaks. This is where poles do their real work.
One important exception runs the other direction: the Barranco Wall, a roughly 250m near-vertical rock scramble climbed on day three or four depending on your route. Both hands are needed. Poles should be fully collapsed and strapped to your pack before you start — most climbers hand them to a porter at the base and collect them at the top. Attempting to climb the Wall with poles extended is a good way to trip yourself or the climber behind you.
Summit-night scree is the opposite case — poles are strongly recommended. From Stella Point back down to Barafu, you are descending through deep, ankle-rolling gravel in the dark, often on 30–40 degree slopes. Two extra points of contact noticeably improve stability and reduce the risk of a slip.
Route-specific notes are covered in our Shira route guide and Marangu difficulty breakdown.
Buy or Rent — The Honest Assessment
If this is a one-time climb, renting in Moshi is usually the more sensible choice. Rental is widely available through gear shops and most tour operators. Ask your operator to arrange it in advance so you are not shopping for poles the day before you start.
Before accepting a rental pole, check:
- Locking mechanism — lever-lock (flick-lock) systems hold better than twist-lock once hands are cold and gloved. Grip each section and try to twist or pull it apart; reject it if it slips.
- Tip condition — a worn, flattened carbide tip loses grip on loose rock. Look for a tip that still comes to a visible point.
- Wrist strap — frayed webbing or a cracked buckle defeats the purpose of the strap (see technique section below).
- Basket — the small disc just above the tip should still be intact; it stops the pole sinking too deeply with each plant on scree.
If you prefer to buy, look for a telescoping, three-section aluminium pole with a lever-lock mechanism, a cork or EVA foam grip, and an adjustable range of roughly 100–135cm. Aluminium is the practical default for Kilimanjaro specifically — it tends to bend rather than snap under a hard impact on volcanic rock. Quality carbon poles can also work well, particularly for experienced hikers who want lighter weight, but they carry a higher risk of a clean break on a hard strike.
What to avoid: plain walking sticks with no locking mechanism or real wrist strap, and any single-piece pole that cannot collapse to fit in a duffel. Some ski poles may also be a poor fit if they are not adjustable or do not collapse for packing.
Should Climbers Over 50 Use Trekking Poles?
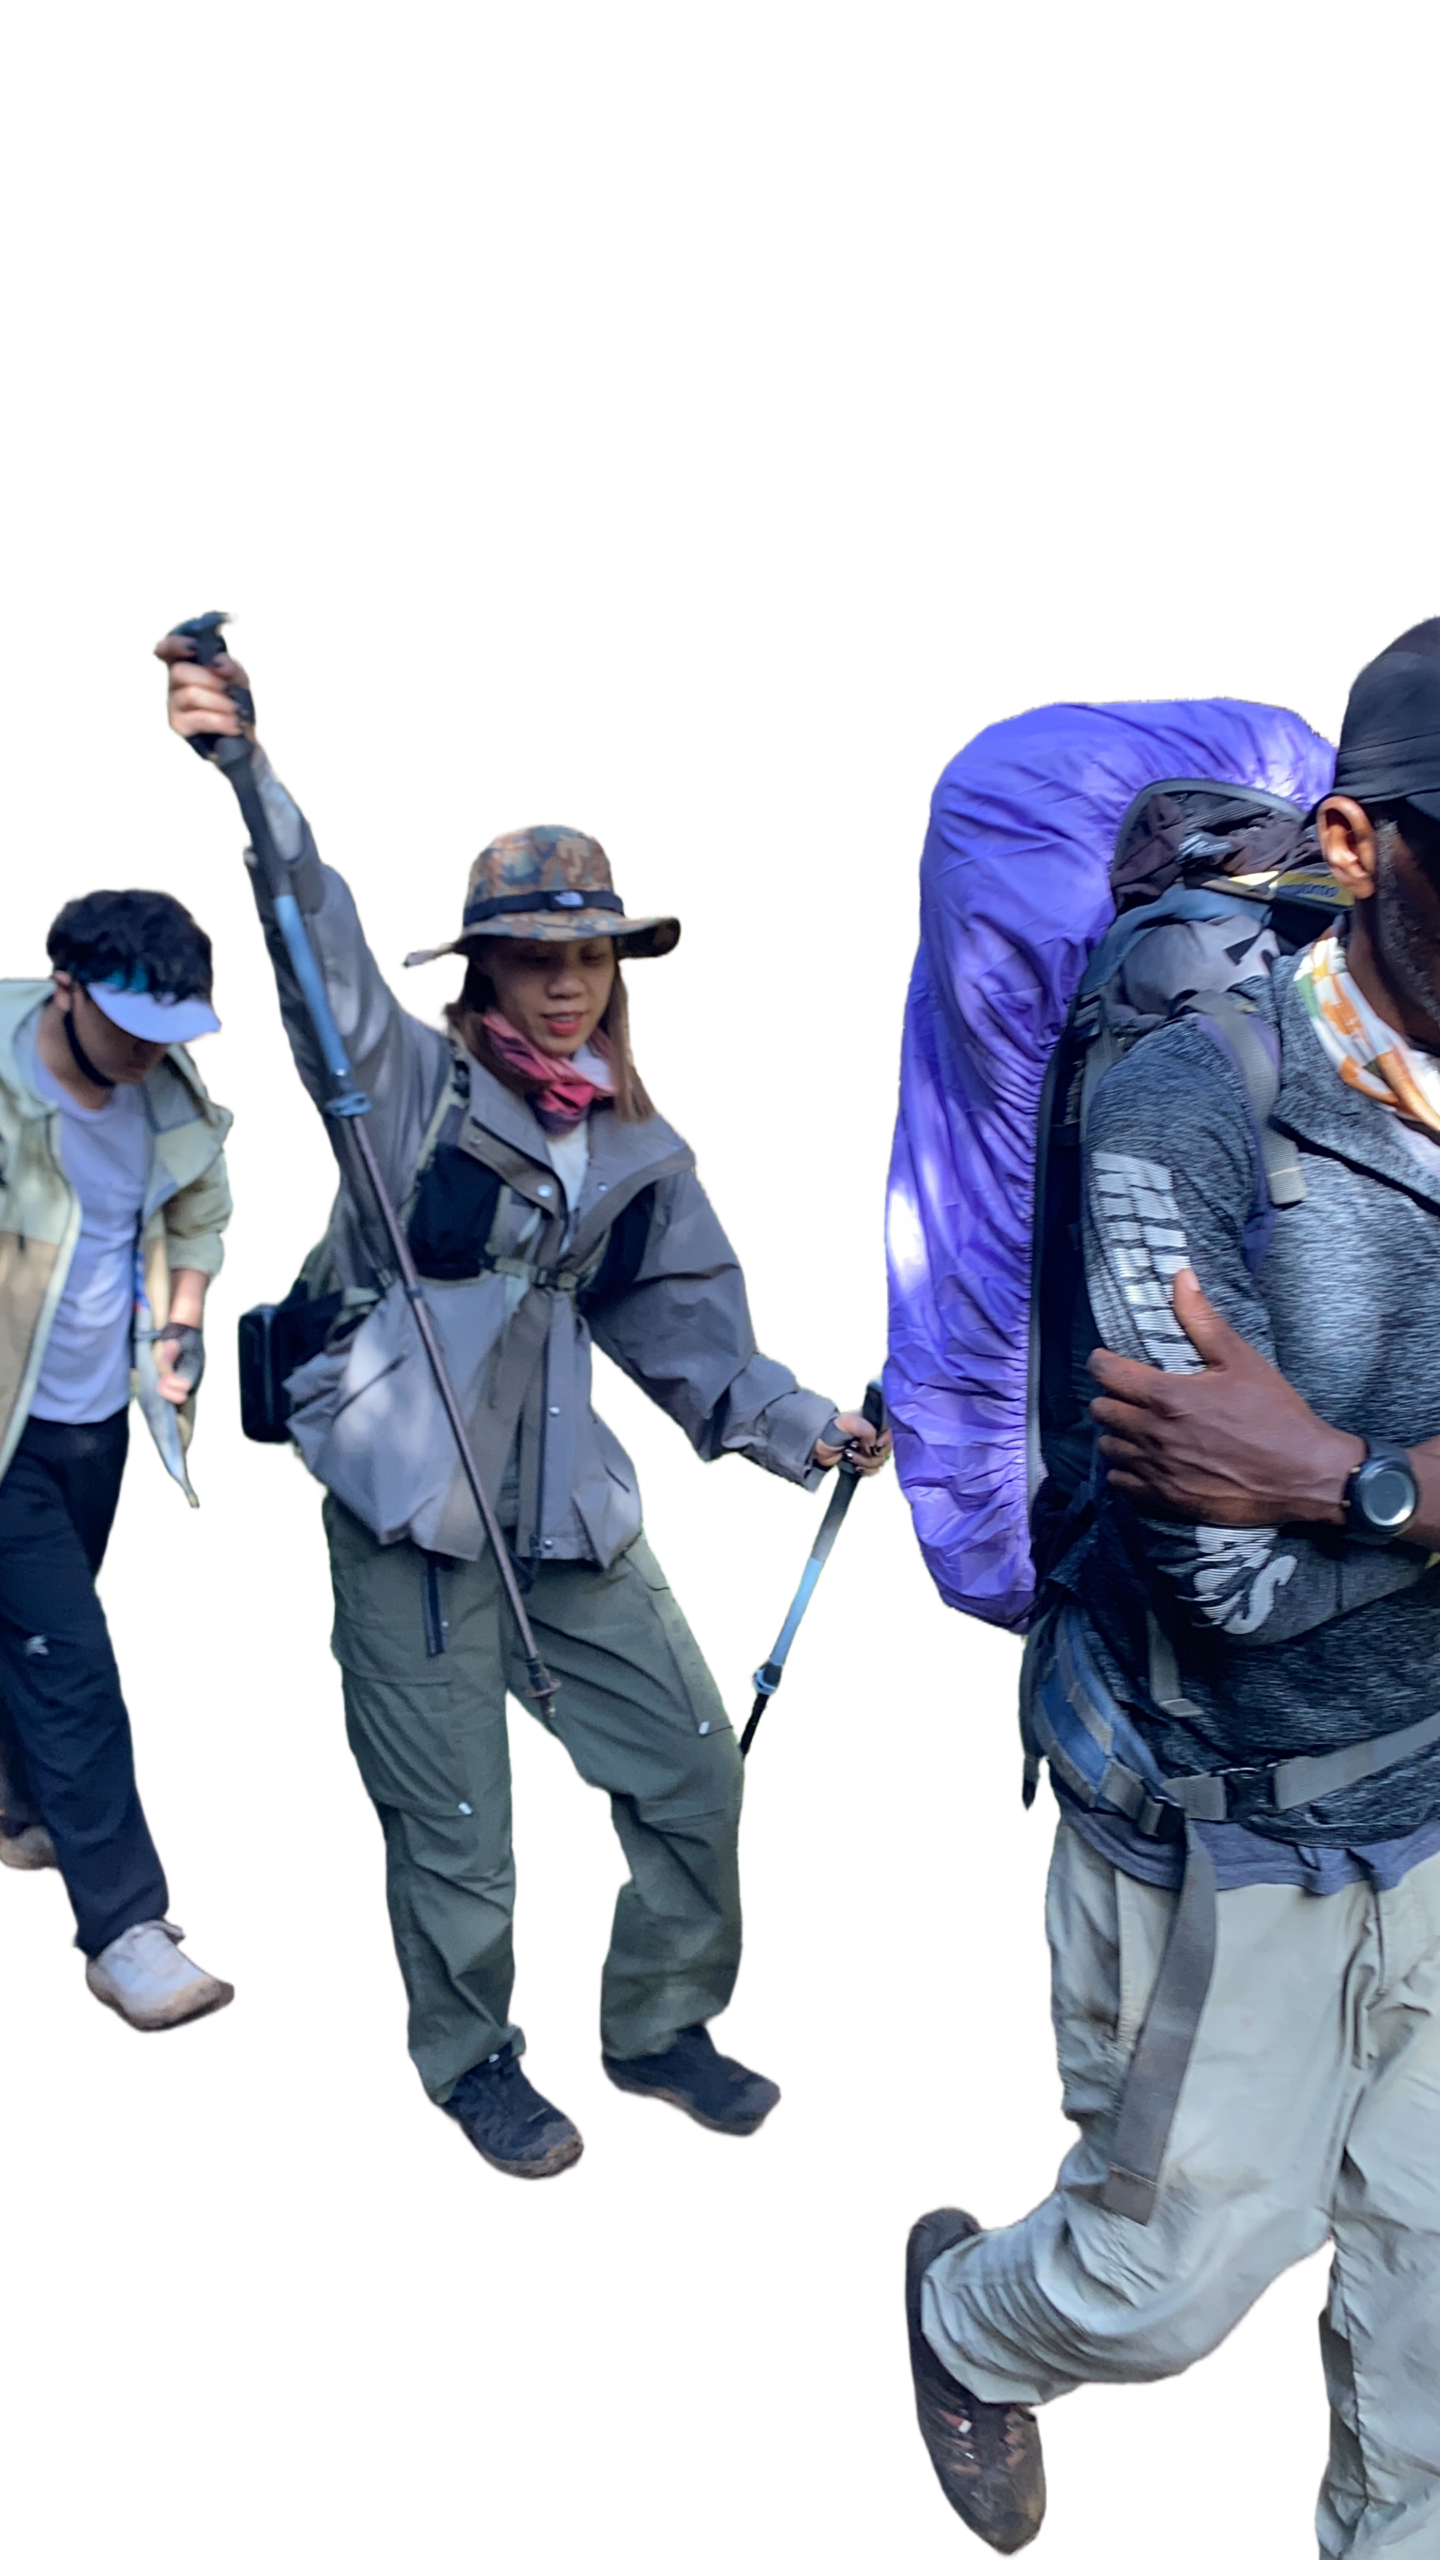
If you are over 50, two trekking poles are a sensible default — particularly if you have limited balance, a history of joint issues, or little experience with steep, loose descents. Age on its own is not a medical reason to require poles; plenty of very fit climbers in their 60s and 70s summit comfortably with or without them. But many older climbers arrive with previous knee or joint issues that are not noticeable on flat ground at home and only become obvious during the long descent from Uhuru Peak.
Poles help in two specific ways: they transfer some load away from the knees through the arms and shoulders, and they improve stability on uneven ground — particularly on the loose scree between Stella Point and Barafu Camp.
This is general trekking guidance, not medical advice. If you have a diagnosed joint condition, previous surgery, or other relevant medical history, talk to your doctor before your trip. For related context, see our guide to minimum age and KINAPA’s rules.
When Are Trekking Poles Most Useful?
| Section of Climb | Pole Usefulness | Why |
|---|---|---|
| Rainforest zone | Helpful | Muddy trails and tree roots, especially in rainy seasons |
| Shira Plateau & Alpine Desert | Moderate | Useful for rhythm and energy conservation |
| Barranco Wall | Not recommended | Both hands needed for the rock scramble |
| Summit night ascent | Strongly recommended | Balance and pacing on steep scree in darkness |
| Summit descent | Strongly recommended | Reduces strain on knees; improves stability over thousands of downhill steps |
This pattern holds across all standard routes — Machame, Lemosho, Marangu, Rongai, Northern Circuit, Umbwe, and Shira — because every route ends with a comparable descent in terms of elevation loss and terrain.
How to Use Poles Correctly on Summit Night
Bringing poles is step one. Using them badly costs almost as much as not bringing them — we see climbers every season who carried poles for all eight days and still finished with sore knees because nobody showed them the technique.
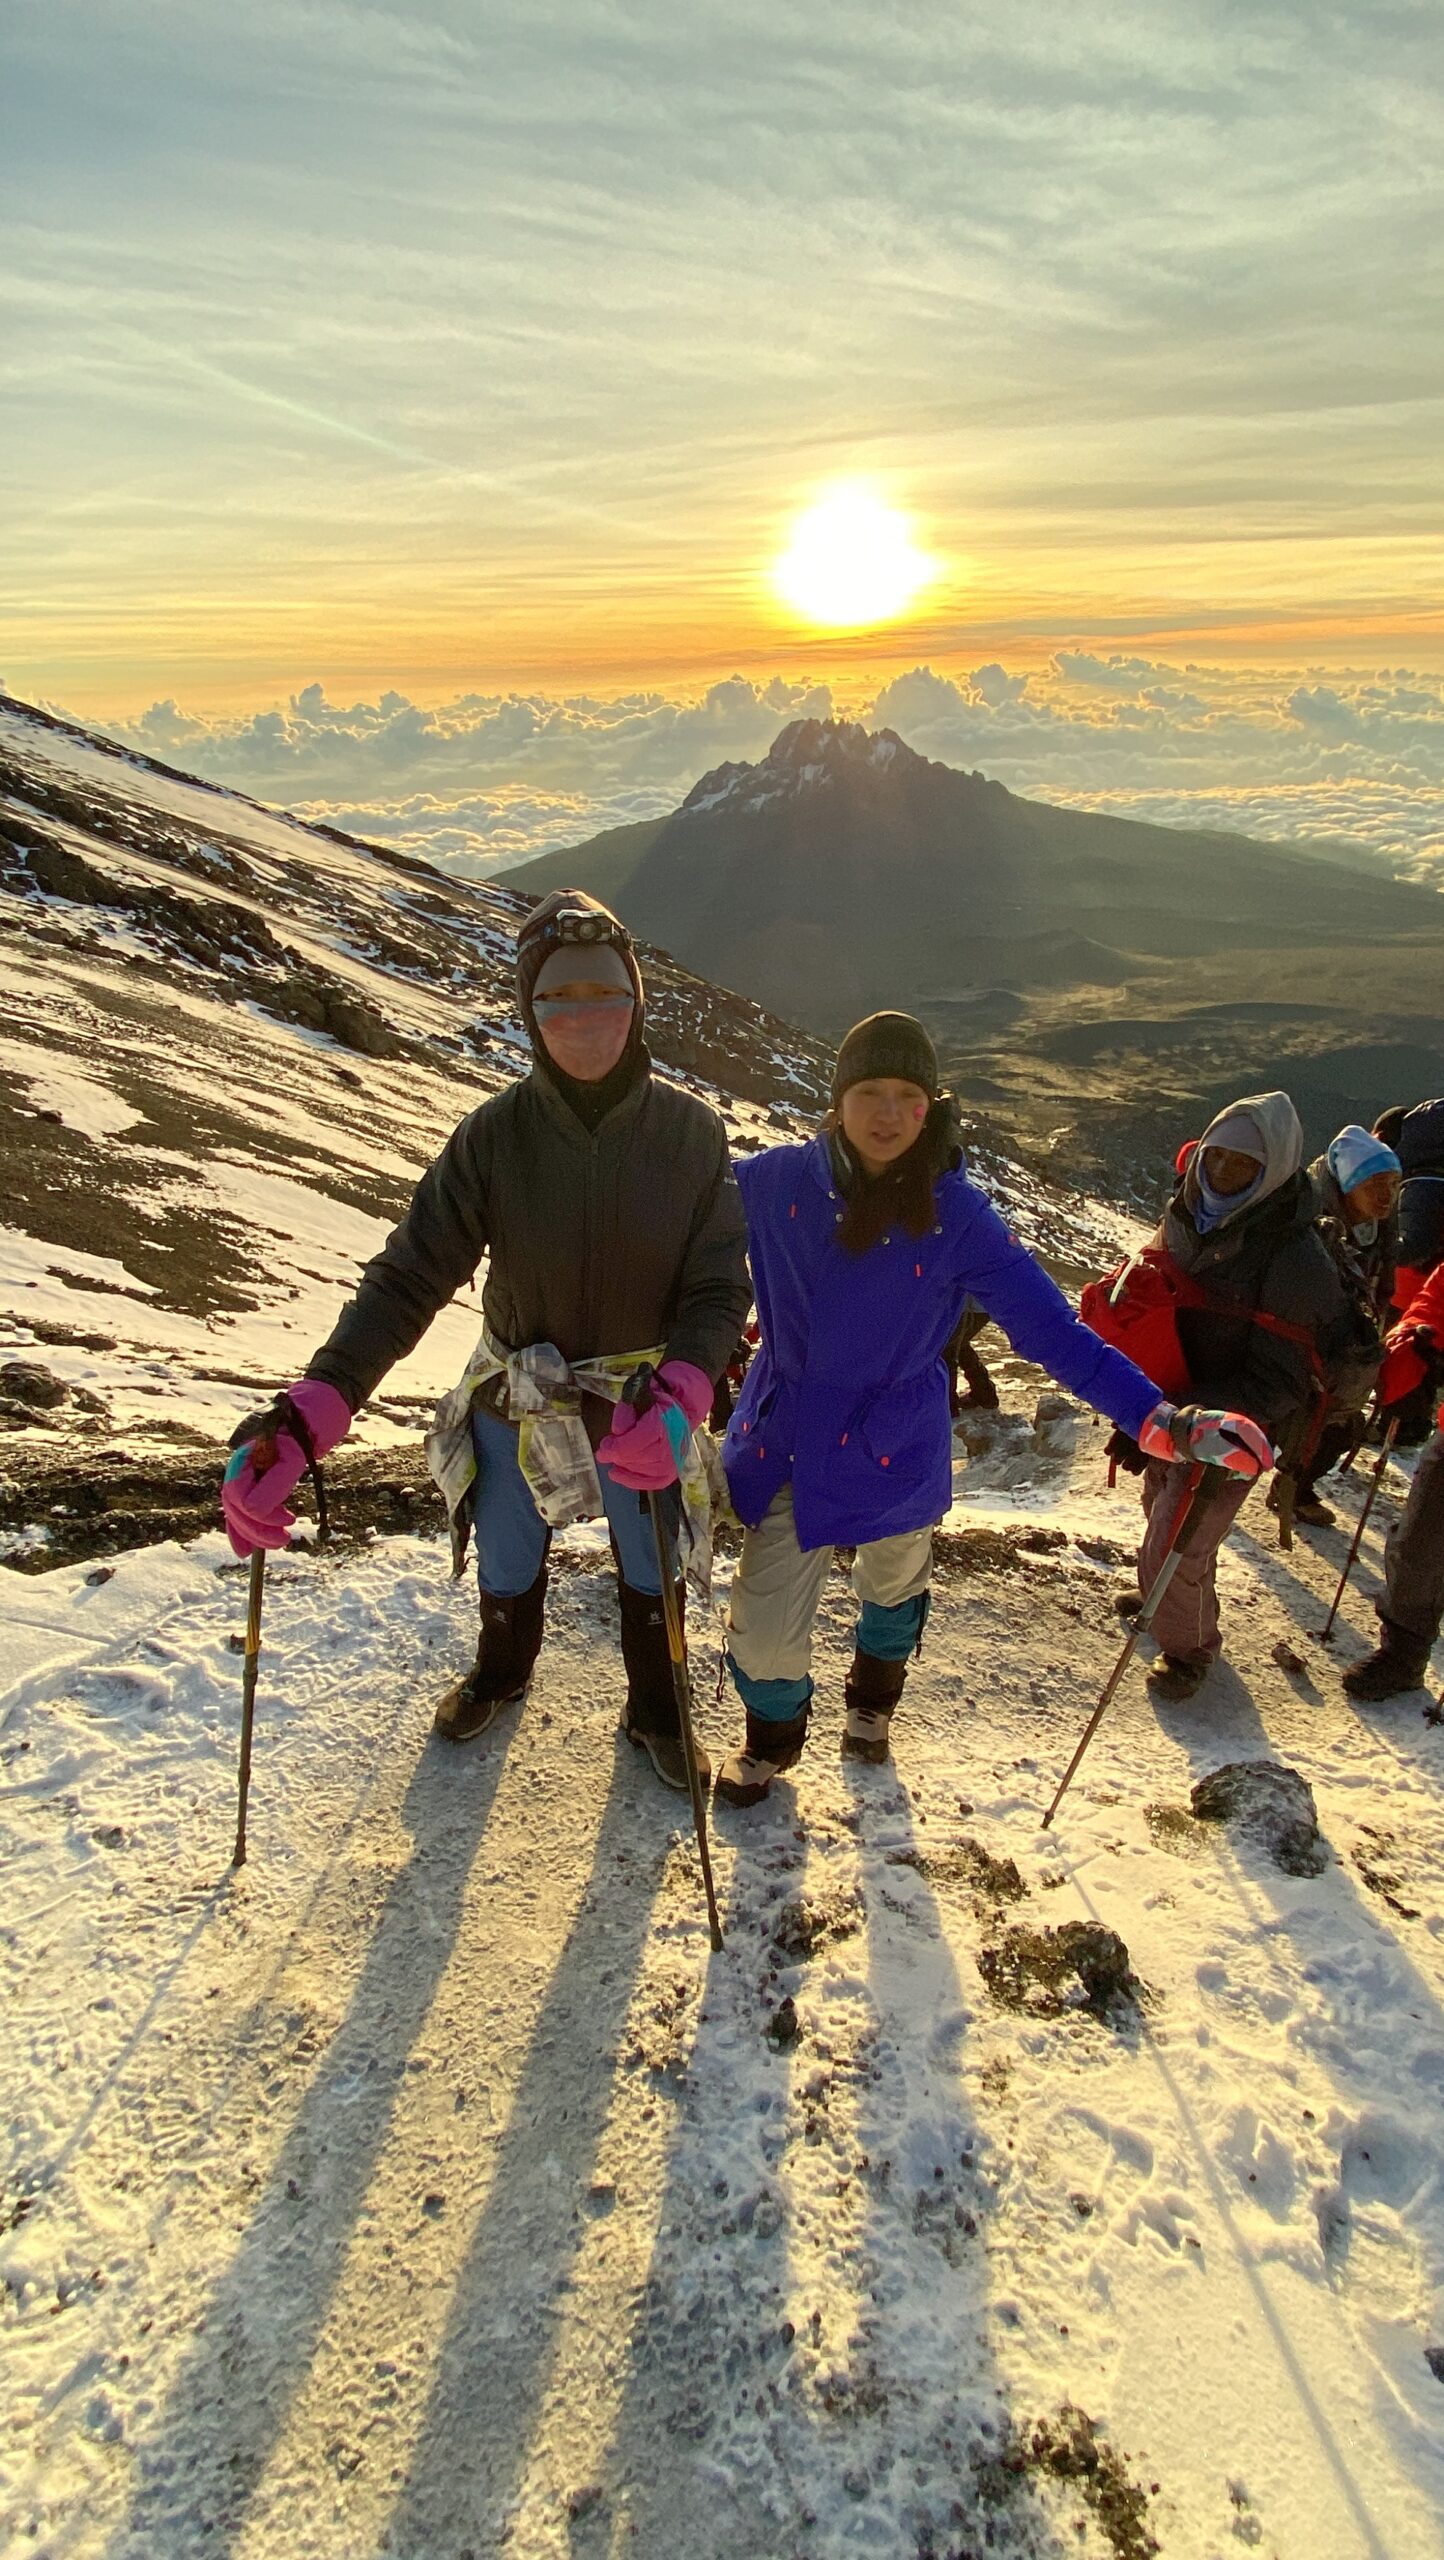
The wrist strap is the part almost everyone gets wrong. Slide your hand up through the strap from underneath, then close your hand around the grip. The strap should sit across the base of your palm, not your wrist. When you plant the pole on a downhill step, push down and back through the strap rather than gripping the handle tightly. Done correctly, your forearm barely works; done by gripping the handle alone, your hands and forearms tire within the first hour of the descent.
Adjust the length for the terrain:
- Ascent: Set the pole so your elbow sits at roughly 90 degrees when the tip touches flat ground beside your foot.
- Descent and summit-night scree: Lengthen the pole by 5–10cm. Planting it slightly ahead and below you lets it take weight before your foot fully commits to each step.
- Barranco Wall: Fully collapsed and strapped to your pack — not in your hands at all.
On the scree descent specifically: plant both poles together just before your feet commit to each step, keep your posture upright rather than leaning forward, and take shorter, controlled steps. A common mistake is planting the pole forward at a sharp angle — on a 35-degree scree slope that angle puts torque straight through the wrist and can cause a sprain. Plant it closer to vertical, or slightly behind your foot, and let it act as a brake rather than a lever.
Watch how your guide uses theirs on day one. It looks unremarkable until 2 a.m. on the way down, when it becomes the difference between controlled steps and an uncontrolled slide.
Do Trekking Poles Help Prevent Altitude Sickness?
No. Trekking poles do not prevent or treat Acute Mountain Sickness (AMS), High Altitude Cerebral Edema (HACE), or High Altitude Pulmonary Edema (HAPE). Their benefit is mechanical — better balance and less strain on the legs and joints — which is a separate issue from how your body responds to altitude.
For authoritative guidance on altitude illness prevention, see resources from the Wilderness Medical Society, which publishes evidence-based recommendations for high-altitude travelers, and the CDC Travelers’ Health guidance for high-altitude destinations.
On Kilimanjaro, acclimatization, hydration, a slow pace (pole pole), and honest reporting of symptoms to your guide are what actually reduce altitude risk. Do not treat poles as a substitute for proper acclimatization.
Common Trekking Pole Mistakes on Kilimanjaro
- Bringing only one pole instead of two
- Using poles for the first time on summit night without practice
- Using the wrist strap incorrectly, or not at all
- Leaving poles too long for the ascent, or too short for the descent
- Renting a cheap twist-lock pole without testing the lock
- Forgetting to collapse poles before the Barranco Wall
How to Pack Trekking Poles for Flights
Trekking poles are not allowed in carry-on luggage on most airlines, so plan to check them. Pack poles inside your main duffel or expedition bag — collapsed to their shortest length — rather than strapping them to the outside, where they can snag on conveyor belts or get damaged. If your airline requires it, remove the carbide tips or wrap them so they can’t puncture the bag lining.
Practice Before You Arrive
Poles only help if the movement feels natural by summit night. A simple three-step routine before your flight makes a real difference:
- Two local hikes with poles. Use them on hilly trails once a week for two weeks, focusing on the wrist-strap technique above — most first-timers grip too hard.
- Find a descending slope. Practice planting both poles together, lengthening them 5–10cm, and taking short controlled steps downhill.
- Learn to collapse them quickly. Practice retracting both poles and strapping them to your pack in under a minute, so the Barranco Wall doesn’t slow you or your group.
Preparing physically is a bigger conversation — see our Kilimanjaro fitness assessment for what real readiness looks like.
Frequently Asked Questions
Are trekking poles required on Kilimanjaro?
No. TANAPA does not require trekking poles. The descent from Uhuru Peak to Mweka Camp drops roughly 2,700m over loose scree, and Kilimania guides strongly recommend using two poles for that stretch.
Can I climb Kilimanjaro without trekking poles?
Yes. Many climbers reach the summit without poles. They are not medically necessary for a healthy, fit climber. Most people, however, find the descent noticeably easier with two poles, especially on the loose scree below Stella Point.
Should I use one pole or two?
Two. A single pole helps with rhythm on flat ground but cannot match two poles for balance on uneven scree or for distributing the descent load across both arms.
Can I rent trekking poles in Moshi?
Yes. Rental is widely available through gear shops and tour operators in Moshi. Ask your operator to arrange this in advance and check the locking mechanism and tip condition before accepting a pair.
Do I need poles on the Barranco Wall?
No. The Barranco Wall is a hands-on rock scramble. Collapse your poles and stow them in your pack, or hand them to your porter at the base, before you start climbing.
Are aluminium or carbon poles better?
Aluminium is a practical default because it tends to bend rather than snap under a hard impact on volcanic rock. Quality carbon poles can also perform well, particularly for experienced hikers who prioritize lighter weight.
Do trekking poles help prevent altitude sickness?
No. Poles help with balance and reduce strain on the legs and joints — a separate issue from altitude illness. Proper acclimatization, hydration, and a sensible ascent pace are what reduce altitude risk.
How should I adjust my poles for Kilimanjaro?
For the ascent, set the pole so your elbow sits at roughly 90 degrees when the tip touches flat ground beside your foot. For the descent and summit-night scree, lengthen each pole by 5–10cm.
The Bottom Line
Trekking poles will not get you any closer to Uhuru Peak — that comes down to pace, acclimatization, and fitness. What they do is help you get back down with knees that still work the next morning. If this is a one-off climb, rent a decent pair in Moshi, learn the wrist-strap technique before you arrive, pack them securely in your checked duffel, collapse them for the Barranco Wall, and lengthen them by 5–10cm for the descent.
We Walk With You.
About the Author
Sabinus Msimba — Senior Kilimanjaro Guide and Co-founder, Kilimania Adventure. 22 years guiding on Kilimanjaro, 300+ summits.
Preparing for your own climb? Share this with your trekking partner.
Get the Guide-Verified Packing Checklist (2026)
The exact list our guides check at the gate — sleeping bag ratings, Moshi rental prices, porter weight limits, and altitude-safety reminders — in one printable PDF.
Download the Free PDF ChecklistVerified by Senior Guide Sabinus Msimba · 22+ years guiding experience.
Have Gear Questions Before You Fly?
WhatsApp our team — we answer packing and gear questions every day, not just booking questions.
WhatsApp +255 756 449 990Or email info@kilimania.co.tz
References & Authoritative Sources
- Schwameder, H. et al. (1999). “Knee joint forces during downhill walking with hiking poles.” Journal of Sports Sciences.
- Wilderness Medical Society (WMS) — evidence-based guidelines for high-altitude illness prevention and treatment.
- CDC Travelers’ Health — official guidance for high-altitude travel.
Claims regarding trekking poles and lower-limb loading during downhill walking reflect the general findings of sports-biomechanics research; individual results vary by terrain, technique, and body weight.